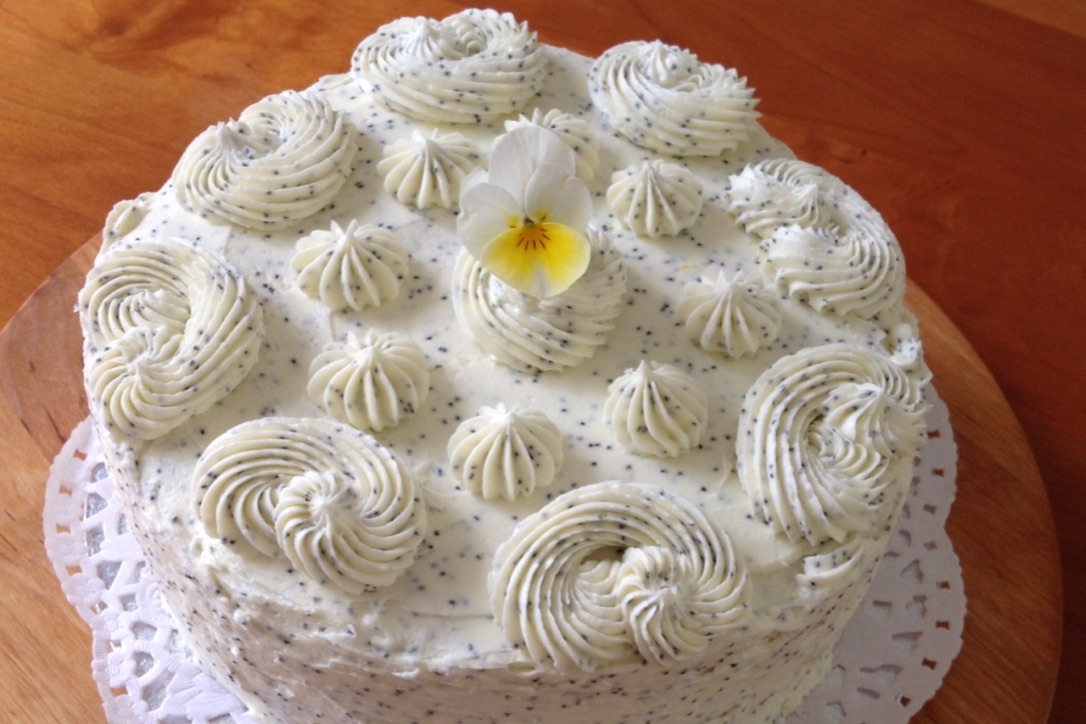
 This is such a beautiful cake for a celebration, or for afternoon tea in the garden (and oh joy! It’s warm enough for that here in Cambridgeshire this Easter weekend). It’s also great in winter, come to that, when lemons are at their best.
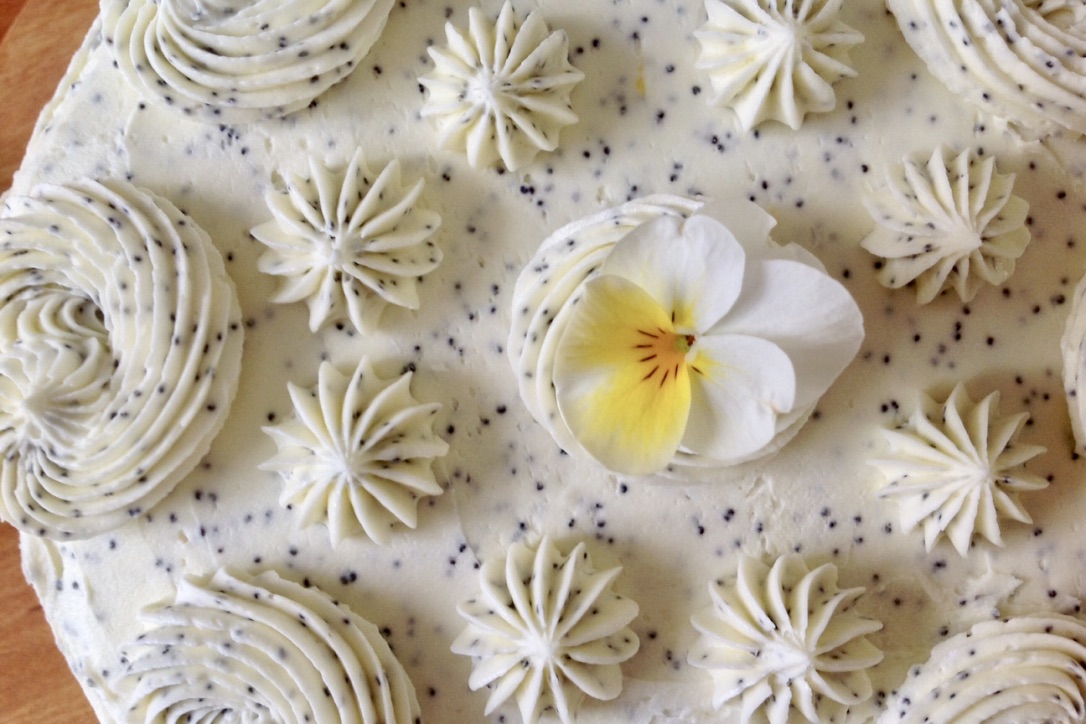
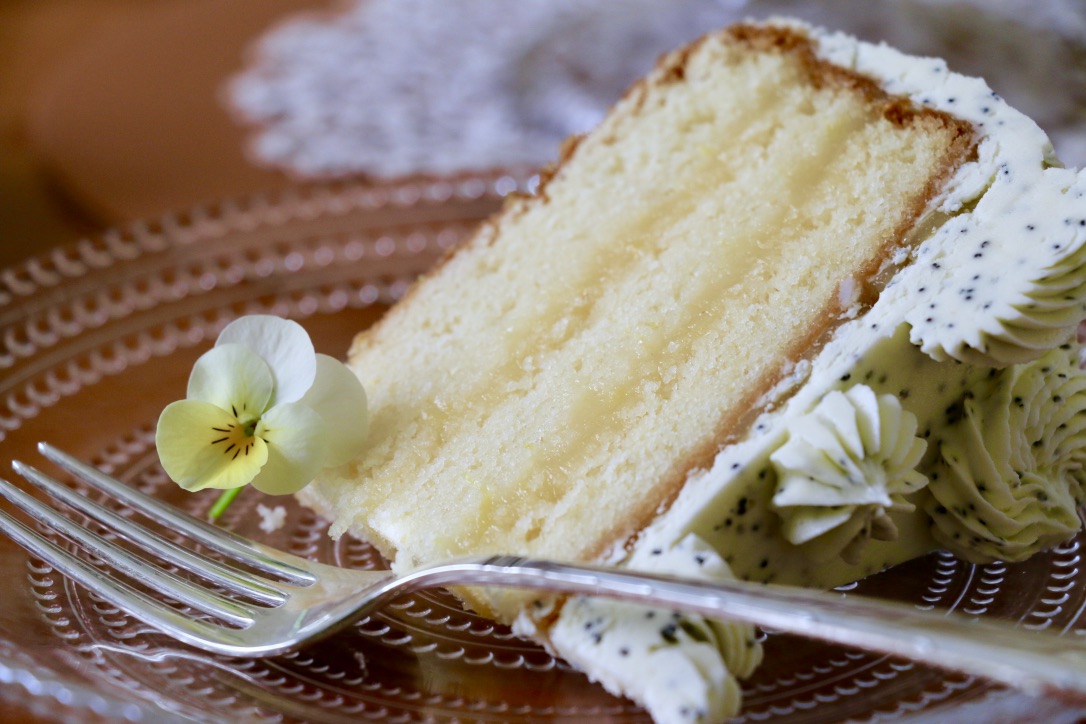
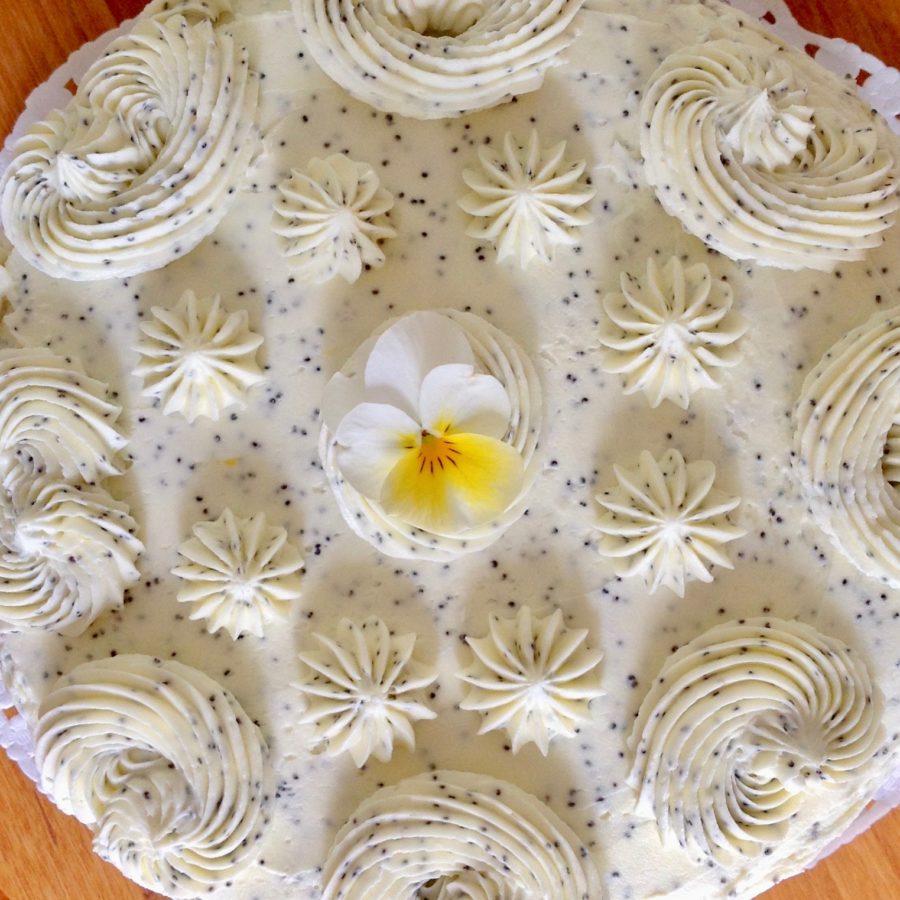
A tender, fine-crumbed, all-butter yellow cake is layered with homemade lemon curd that is properly thick and lemony. It’s then frosted with an easy buttercream icing generously speckled with poppyseeds. The seeds cut the sweetness to make it just right, not icky-sweet, as buttercream icing can be — and the black and white in contrast also look gorgeous.
Decorating with fresh edible flowers is such a pretty and easy way to achieve something delightfully natural and festive (see a list of edible flowers here). If you feel so inclined, you can add some piped swirls and stars: no advanced piping skills needed, just a fairly steady hand, a piping bag, and a large star-tip.
This 1-2-3-4 cake is the best yellow cake I know, with superb flavour and texture. It’s similar to a classic British sponge, but with a better flavour, in my humble, and a finer crumb — and it stays fresh longer. Yes, it’s not quite as easy to whip up as the eggs are beaten separately, but this, along with using soft “00” flour (or cake flour), is what makes it so wonderfully light.
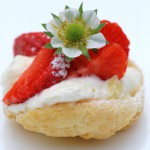
 It’s also very versatile (I use it for this elegant strawberry Fraisier cake, Victoria-sponge-style layer cake with jam, and as the sponge for trifle.) This amount makes three 20-cm (8-inch) layers, but it will also do two 23cm (9-inch) layers; or 24 paper-lined cupcakes, which you can fill with the lemon curd using a long-stemmed filling-nozzle.
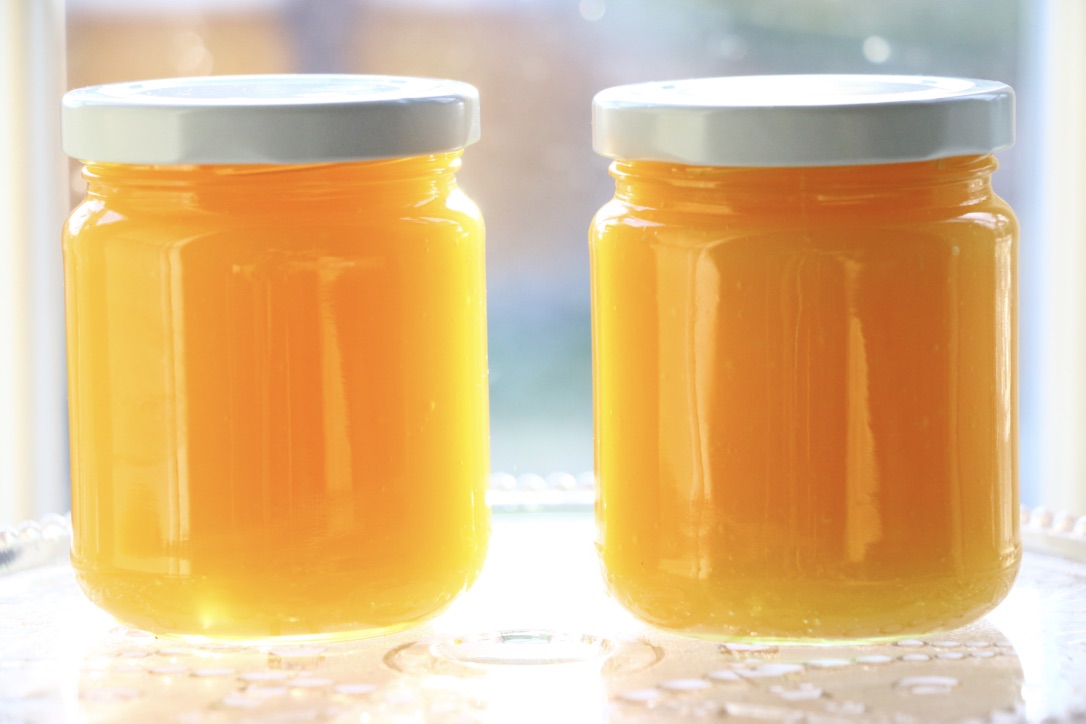
The lemon curd is exquisitely lemony, and this is the best recipe I know for it, given to me by friends Bob and Kim, who know their lemons and have been making this curd for years from a reliable and zestier-than-most Good Housekeeping recipe. The amount given here will make more than you need to fill this cake, but it lasts for up to two weeks if kept refrigerated in sealed, sterilised jars, so is worth making the full amount (it’s irresistible on toast or scones). If you don’t want extra, simply halve the recipe as given here.
I made a huge batch of this curd for Bob’s birthday one year to fill a much larger version of this cake (the vast quantities of lemons, sugar, eggs and butter used were a sight to behold). Since lemons vary in size and juiciness, I found it very helpful to pin down the precise measurements for the juice, so I give the exact measurements here in case you are using anything but average-sized lemons. Having made batch after batch (and trying other lemon curd recipes over the years), I can vouch for this recipe as a beautifully balanced sweet-tart curd that is intense enough to be properly lemony without being too sharp.
If you’re making everything for the cake on the same day you want to serve it, start by making the lemon curd so it has time to chill.
Three-layer lemon curd cake with poppyseed buttercream
Serves 10-12
The 1-2-3-4 cake recipe is adapted from Alice Waters, The Art of Simple Food
The lemon curd recipe is adapted from a Good Housekeeping recipe.
Ingredients
For the cake
- 225g (1 cup or 2 sticks) unsalted butter, room temperature
- 400g (2 cups) caster sugar
- 4 large eggs, separated
- 390g (3 cups sifted before measuring) flour, ideally ‘00’ pastry flour or cake flour
- ½ teaspoon cooking salt
- 4 teaspoons baking powder
- 250ml (1 liquid cup) whole milk, room temperature
- 1 teaspoon vanilla extract
Makes 700g (1½ pounds)
You will need about half of this amount to fill the cake. The rest of the curd can be refrigerated in sterilised, sealed jars for up to 2 weeks.
- 100g (3.5 ounces or 7 tablespoons) unsalted butter, cut into cubes
- 350g caster sugar (1¾ cups)
- the strained juice of 4 medium lemons (exact juice measurement is 200ml, or 13 tablespoons plus 1 teaspoon*)
- the finely grated zest of 4 medium lemons
- 4 large eggs
* for US cooks, this is one fluid cup minus 2 tablespoons and 2 teaspoons.
For the poppyseed buttercream
This amount of buttercream allows for piping decorations on top. If you don’t want to decorate the cake with extra piping, use two-thirds of the quantities given here, which will be enough to cover the top and sides of the cake.
- 340g (12 ounces, 0r 3 sticks) unsalted butter, room temperature
- 260g (2 2/3 cups ) icing sugar, sifted
- 1 teaspoon vanilla extract
- 1 teaspoon lemon juice
- 15g (2 level tablespoons) black poppyseeds
Directions
 I. Make the lemon curd
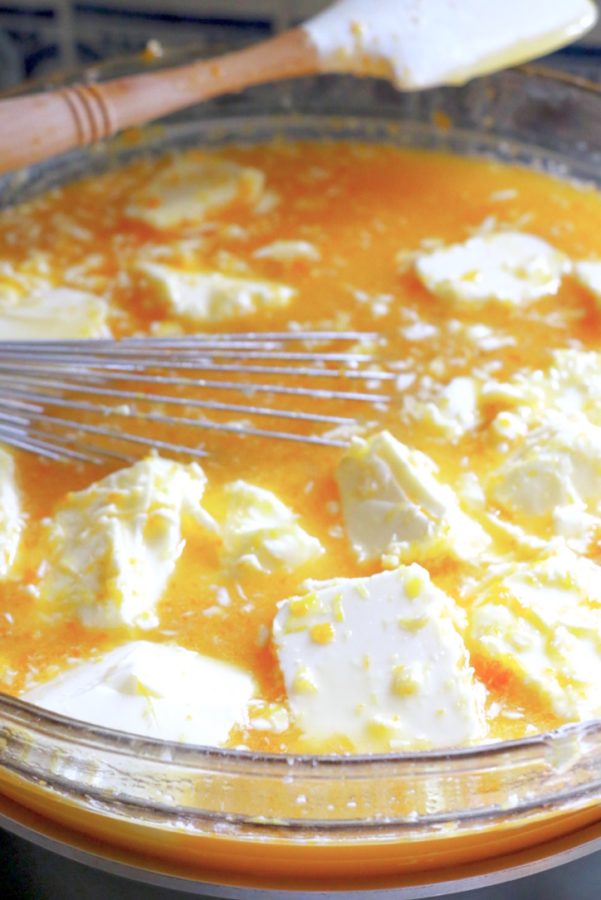
- Mix the eggs together first, and then put everything in a large heat-proof bowl set over (not touching) a pan of barely simmering water. The temperature is important, as the curd must not approach the boil, or it will curdle. At this stage it will look messy, but the magic will happen as everything melts together.
- Stir constantly but gently with a silicone spatula while the butter melts and the sugar dissolves, scraping the sides and bottom of the bowl frequently. Alternate the scraping action with using a whisk as the curd starts to come together as a smooth mixture.
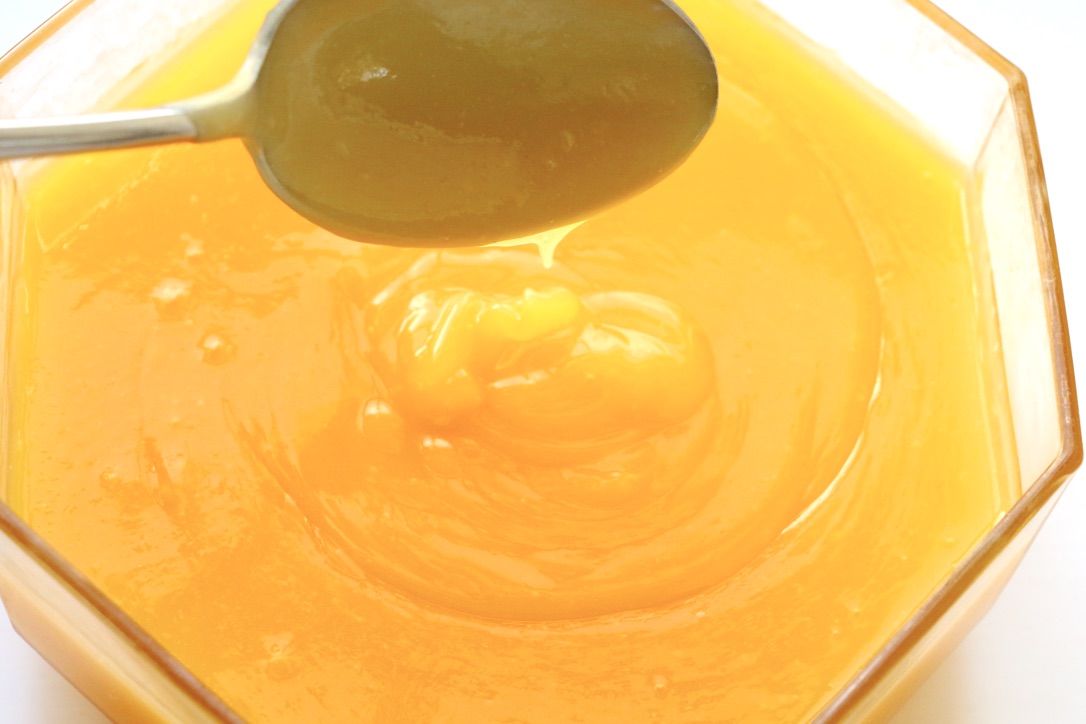
- Continue cooking, scraping and whisking constantly for about 25 minutes, until the curd becomes thick enough to plop slowly from a spoon and retain some of its shape. It will also thickly coat the back of a spoon and leave a clean strip as you swipe through it with your finger (Madeleine Kamman called this the “Red Sea effect”). Watch carefully at this point and take it off the heat if you see any side of curdling. The curd will thicken further as it chills.
- Strain the curd through a fine sieve into sterilised jars and seal tightly. Once cool, refrigerate, and use within 2 weeks. (If using it in the next couple of days, you can strain it right into a bowl and keep refrigerated).
 II. Bake the cake
- Heat the oven to 180C/gas mark 4; butter and flour three 20cm (8-inch) cake tins.
- Cream the butter and sugar for about 5-8 minutes until very light and fluffy. Add the egg yolks one at a time, beating just until incorporated.
- Sift together the dry ingredients in a separate bowl. Combine dry and wet ingredients in three goes as follows, starting and ending with dry:
- With the mixer on slow speed, add one-third of the dry ingredients to the creamed butter and sugar, mixing just until incorporated.
- Slowly add half the milk and all the vanilla, and mix well.
- Add another third of dry ingredients and mix.
- Add the last half of the milk and mix it in.
- Then add the remaining dry ingredients, and mix just until the batter is smooth (too much will toughen the cake).
- Beat the egg whites on medium speed until they reach soft peaks (the foam will take on volume but flop a bit on the beaters). Gently fold the whites into the cake batter one third at a time until no lumps of white remain, taking care not to deflate the mixture.
- Divide the batter between the three prepared cake tins and bake for 20 minutes. Rotate in the oven for even browning and continue baking for another 8-12 minutes, or just until a skewer inserted into the centre come out clean, the tops are lightly golden and spring back when gently pressed, and the layers have just begun to come away from the sides of the pan. Don’t overbake or the cake will be dry. Let cool in the tins for 10 minutes and then turn out onto racks to cool completely.
 III. Make the poppyseed buttercream
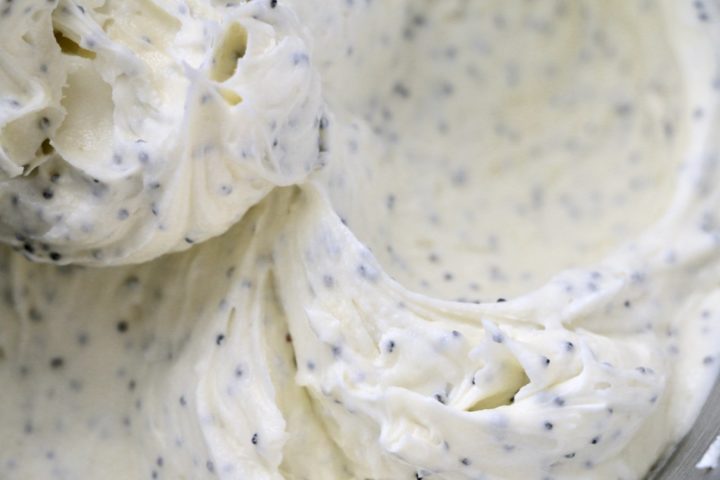
- Cream the butter, icing sugar, vanilla and lemon juice in a large bowl until light and fluffy. Add the poppyseeds and mix again until well-distributed.
 IV. Assemble the cake
- You can ice the cake directly on the plate on which you intend to serve it. Protect the plate from getting messy by placing four strips of foil or parchment over the outer edges only, leaving the centre uncovered. The protective strips are then pulled out from under the finished cake, leaving the cake-plate clean.
- Position one of the cooled cake layers upside down in the centre of the prepared cake plate so that the flat side of the cake is uppermost. Check that the protective strips around the edges of the plate are secure underneath the cake.
- Spread half the lemon curd over this bottom layer of cake. Place the second cake-layer on top of the curd, again upside-down so the flat side of the cake is uppermost.
- Spread the remaining half of lemon curd over this middle cake layer. Top it with the final cake layer, turned upside down as before so the flat side is uppermost.
- Using a long, thin metal spatula, cover first the top and then the sides of the cake with a thin layer of the buttercream, using about half or a little less of the total (reserve the rest for the final touch-up and the decorative piping). Apply the buttercream as evenly as possible at this stage, but don’t worry if some of the cake is showing through; this is the preliminary ‘crumb coat.’ Chill the cake for about an hour; this will help make it easier to get a smooth finish when you finish the icing.
- Now use a bit more of the reserved buttercream to touch-up the top and sides of the cake so it looks as smooth as you can make it.
- Using a skewer, make 8 evenly spaced and discreet indentations, about 3cm (1-inch) in from the edge of the cake, to help guide you when piping the scrolls.
- Put the rest of the buttercream into a piping bag fitted with a large star-tip, and twist it closed. Holding the bag securely in one hand and guiding it with the other, pipe 8 scrolls onto the top of the cake where you’ve put the indentations. (It’s a bit like trying to draw a smile with a fat pen.) Don’t hold the piping tip too close to the surface of the cake; instead, allow the buttercream to start emerging from the tip and gently guide it so it falls in place, and then bob down quickly to finish and lift the tip away.
- Once the scrolls are in place along the outside the cake, the inside decorations will be easier. Simply find the centre, pipe one large star, and then make 8 more stars at regular intervals around it.
- Store the cake airtight in the fridge, and take it out about an hour before serving so the icing can soften. It keeps for three to four days.
Amy, this one’s for you. Happy Birthday!
More cake recipes on Crumbs on the Table:

 Tour D’Argent: a remembrance of things past at today’s prices
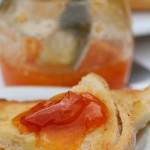 Apricots, les abricots
 I used to cook in a piggery

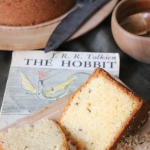 Seed cake and story
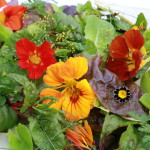


 Easter is late this year
Leave a Reply