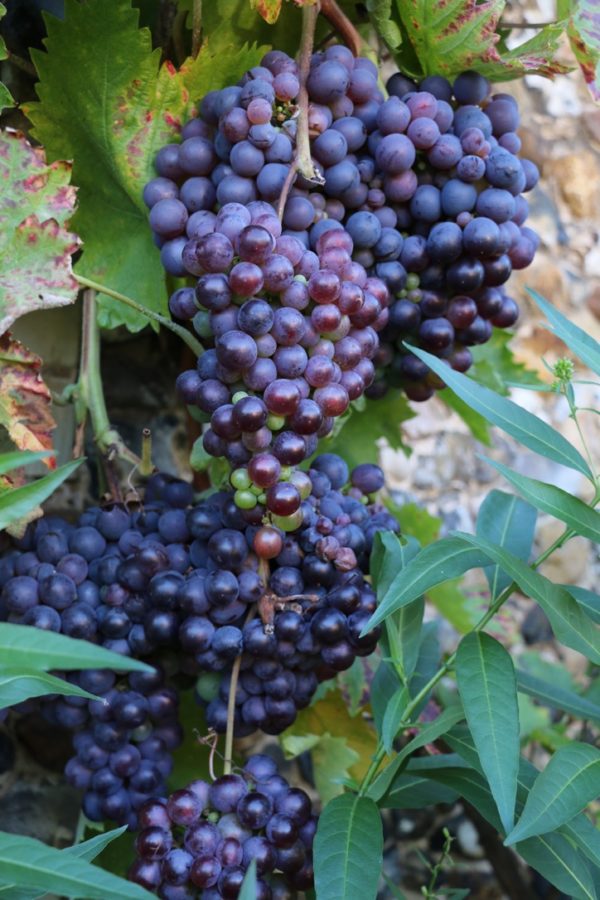
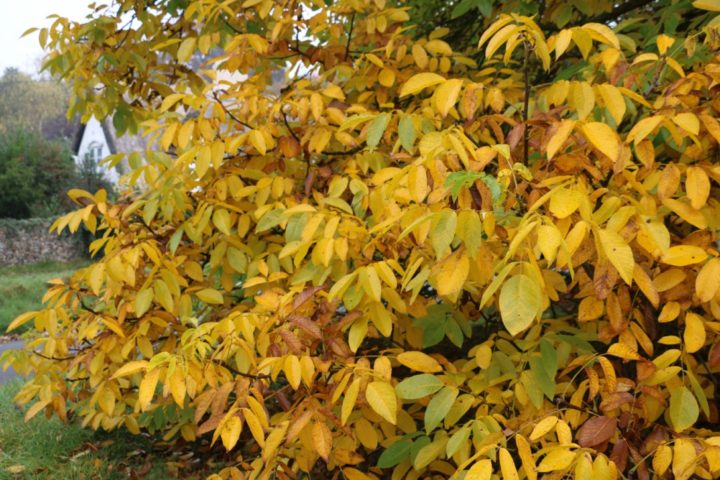
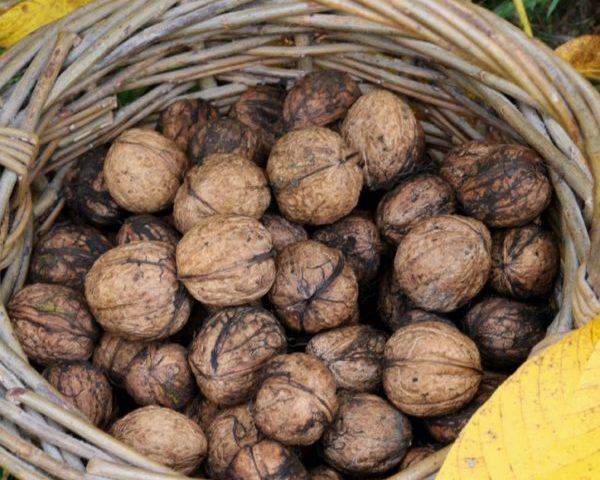
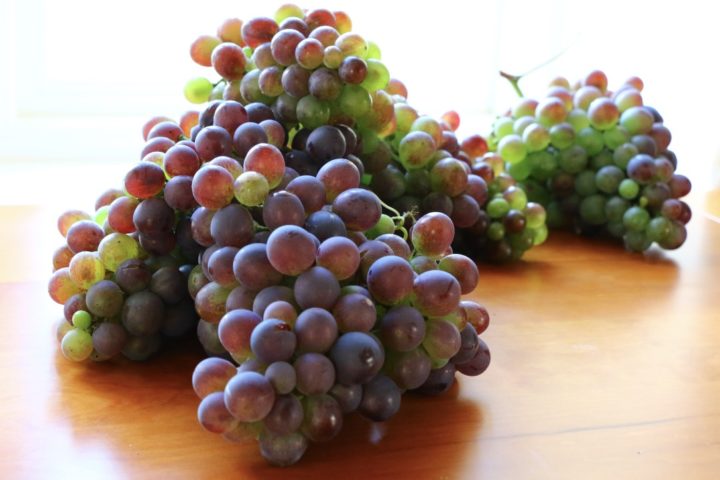
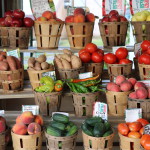
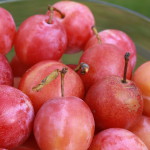
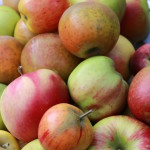
 We inherited a grape vine that has produced a few small clusters of grapes most years, which have mostly stayed hard and green, not even attractive to the birds. Thanks to our extraordinary summer last year, we actually had a harvest of ripe, dark purple grapes, which deserved some kind of attention, even though they were still not sweet enough for table grapes. We also had a bumper harvest of walnuts for once, getting a fair share with the squirrels, who normally scoff the lot. This year too we managed a decent harvest of both, despite a disappointing August. Maybe last year’s turbo-charge of heat gave both tree and vine enough encouragement to stretch themselves and try again.
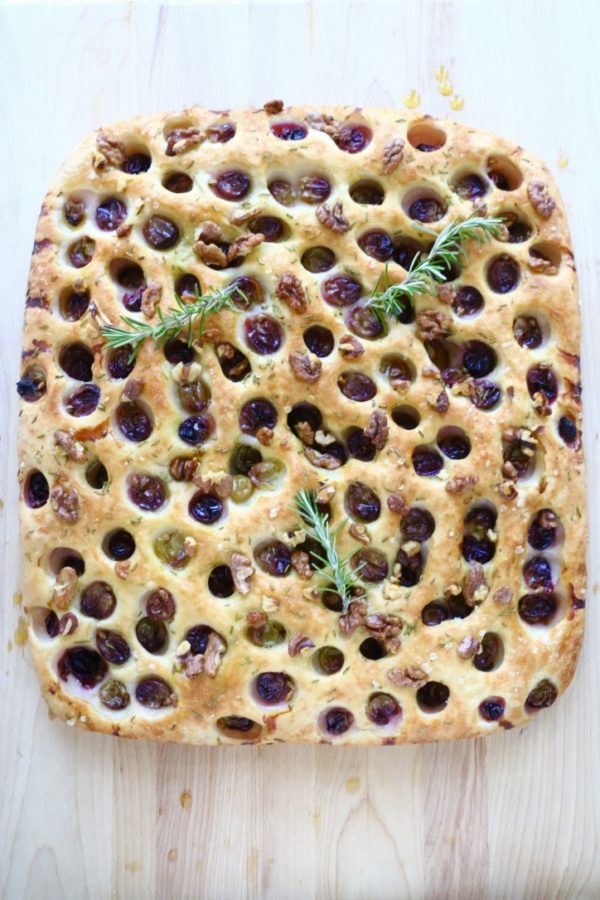
This beautifully polka-dotted flat-bread seemed an ideal way to celebrate both harvests these two lucky years running. It’s a focaccia-stye bread with Estruscan origins that is made in Tuscany during the annual wine-grape harvest. Using sharp English garden-grapes suits this bread very well, though you can also use dark table grapes for a sweeter bread.
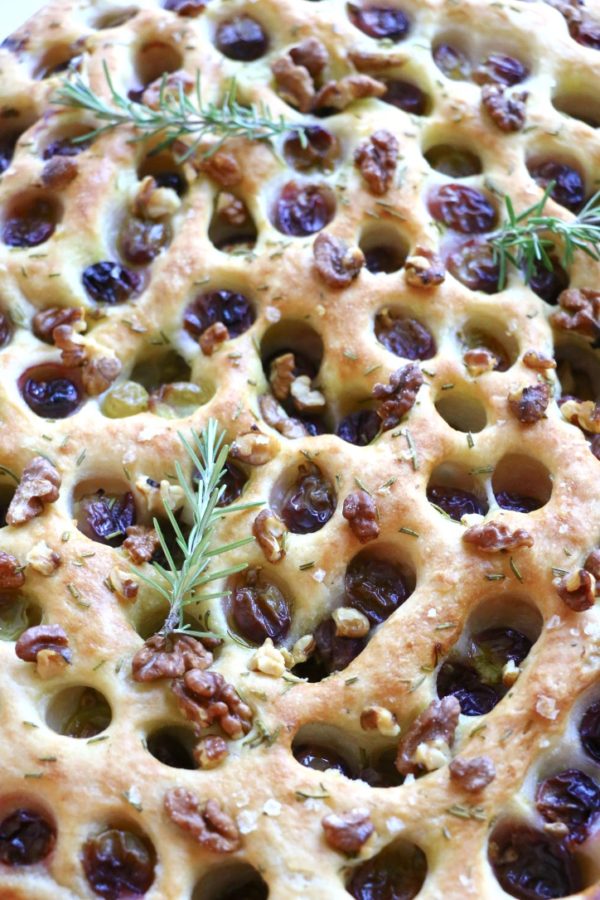
I’ve never seen a Tuscan version that includes walnuts, but the combination is a classic one, and it certainly worked as a way for us to use both our rare harvests.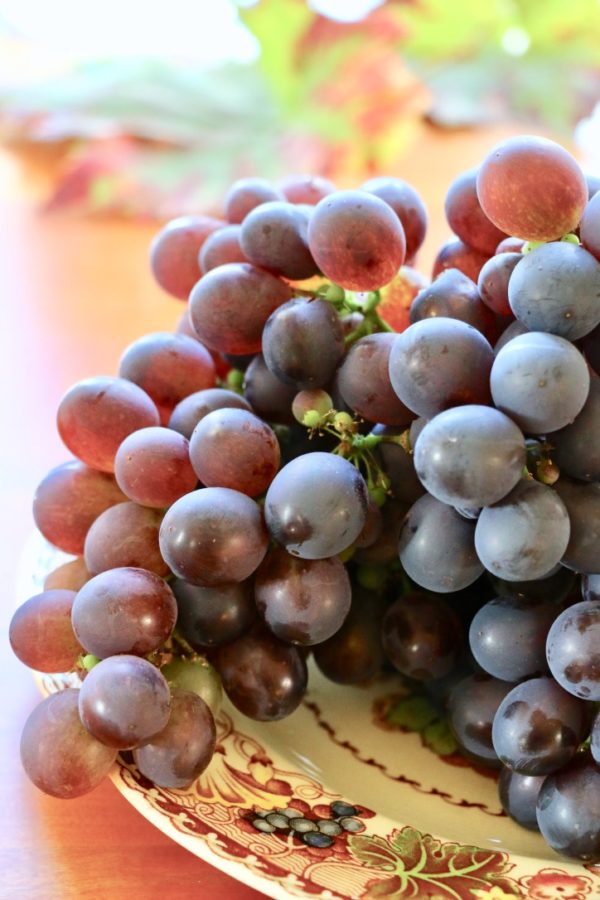 Sometimes this seasonal treat is in fact dusted with powdered sugar in Tuscany, and a small amount of sugar is sometimes added to the dough. It’s delicious like this, but I like it best made savoury style with no sugar, as the grapes melt into a jammy tart fruitiness as the bread bakes, making it perfect with cheese or soups, or as a snack. I also love it with the herbal notes of rosemary.
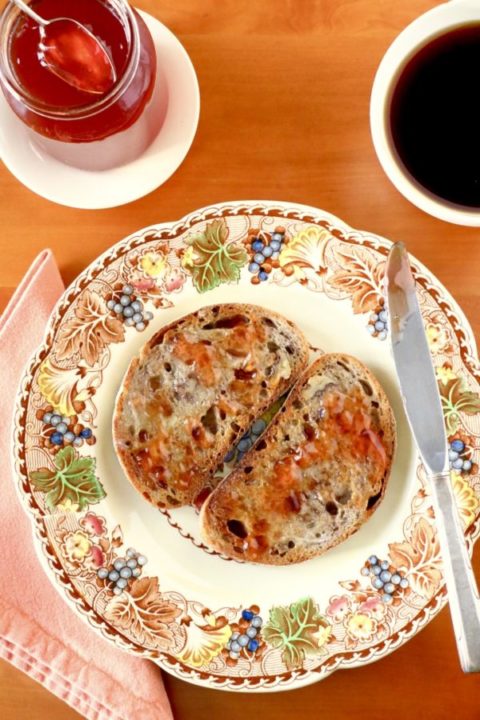
 The pips are easy to crunch through, and that’s part of the appeal. They become pleasant in the chew of the bread, in company with the walnuts. This is one reason I’m so pleased with this bread discovery. I’ve always made grape jelly from our grapes in the past, and as wonderful as it is, I was delighted to find another deserving way to use these precious but seedy fruits in this bumper year. Saying that, the grape jelly itself is so lovely that I can’t let the opportunity pass without sharing it here, too. It is absolutely heavenly on toasted walnut bread: a natural match. And it’s such a treat to bring out in winter when the fresh grapes are long gone.
 But back to this beautiful bread…. Though the rest of Italy calls this style of bread focaccia, in Tuscany this grape variation is called Schiacciata con L’uva (schiacciata for ‘flattened down’ and L’uva for ‘grapes’).
I like this made with an Italian “00” flour, as Emiko Davies does, but plain flour (all-purpose) is also a good choice. Diana Henry makes one with strong bread flour for a chewier bread, so take your pick.
 RECIPES
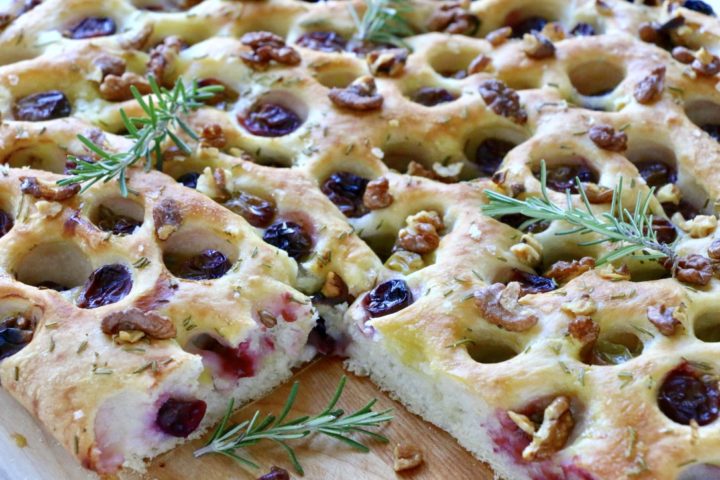 Grape and walnut harvest bread
Makes one large flat bread, serving about 8
Adapted from various recipes, including ones from Emiko Davies and Diana Henry, and from one of Dan Lepard’s focaccia recipes, with changes
Tangy or even sourish grapes, and ones with seeds, are all the better here. If you prefer a sweet variation, replace the rosemary and sprinkle of sea salt on top with a sprinkling of icing sugar while the bread is still warm.
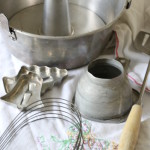
Kneading is a doddle if you have a standing mixer with a dough hook attachment; but you can very successfully also mix and knead it by hand if you don’t.
You will also need a large baking tray, measuring about 30cm x 35cm (12×14 inches).
Ingredients
- 500g “00” or plain / all-purpose flour (4 cups sifted, minus two tablespoons)
- 24g (¾ oz) fresh yeast, or 12g (1 tablespoon or ½ oz) dry-active yeast
- 40 ml (3 tablespoons) warm water to activate the yeast
- 1 tsp sugar
- 1 tsp pouring salt in the flour
- Sea salt to sprinkle on top
- 2 tablespoons (30ml) good olive oil to go into the dough, plus some for the bowl
- 360ml water (1½ cups) for the dough
- about 40ml (3 tablespoons) additional extra virgin olive oil to go on top
- 450g dark grapes (about 1 pound or 3 cups de-stalked)
- 100g (1 cup) walnuts, chopped coarsely or halved
- 3 or 4 rosemary sprigs to garnish
Directions
- Dissolve the yeast in 40ml (3 tablespoons) of water that’s just warm to the touch, with the 1 teaspoon of sugar. It will foam after a few minutes, showing that the yeast is alive and kicking. If it doesn’t, you may have killed the yeast with water that’s too hot, so you’ll have to start again.
- If you’re using a standing mixer, fit it with the dough hook. In a large mixing bowl, mix the flour and salt together, and make a well in the centre with your hand.
- When the yeast has foamed, add it, plus the 360ml water and 30ml of olive oil, to the well in the flour, and start to mix until everything is well-incorporated.
- Continue to knead until the dough is as smooth as a baby’s bottom, and elastic enough to spring back when you poke it with a finger. This will take about 5-7 minutes with the machine, or 10-15 minutes by hand. If kneading by hand, turn out the dough onto a lightly floured board to knead with lightly floured hands. When properly kneaded, the dough should be soft and slightly sticky, but not so much that it sticks like glue to your hands.
- Form the dough into a ball and put it into a clean, large bowl greased with more olive oil. Cover with cling film and allow to rise out of draughts until double in bulk. This may take one to two hours or more, depending on the temperature. (You can at this stage let the dough rise overnight in the fridge.)
- Lightly butter a large baking tray measuring about 30cm x 35cm (12×14 inches), and line it with baking parchment.
- When the dough has doubled in bulk, punch it down, and spread it evenly onto the prepared baking tray, so it is about 2.5 cm (1-inch) thick. Spread it into the corners as well, and make sure the middle isn’t deeper than the sides. If it resists being shaped, let it rest a moment or two and come back to it.
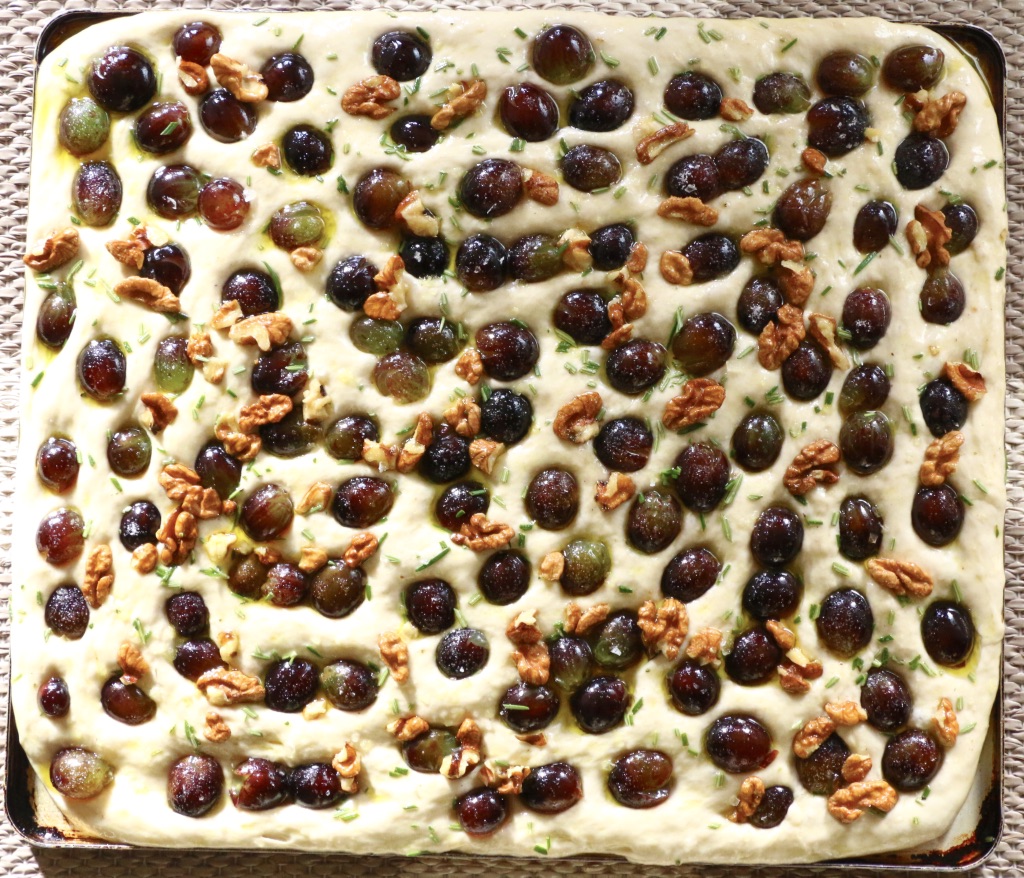
- When the dough is shaped onto the sheet, poke the stemmed grapes into the bread, forcing them down into the dough. Sprinkle on the walnuts.
- Brush the top of the bread with extra virgin olive oil, using a sprig of rosemary as a pastry brush, and sprinkle the surface of the bread very lightly with flaky sea salt. Tuck some rosemary into the holes with the grapes if you like, or save the rosemary for garnish after baking.
- Cover the bread lightly with a clean kitchen towel or loosely with cling film, allowing room for the dough to rise again. Set the tray in a warm place, or at least out of draughts, and leave until the bread has risen to about twice the original depth.
- Bake at 180C / 350 F for about 20-25 minutes or until the bread is a lightly golden brown and the underside is golden to the centre. It should feel firm but not hard in the centre, a skewer inserted in the thickest place should come out clean, and you should be able to pick up the bread without it bending, in order to check that the underside is also done to the centre.
- Use a rosemary sprig to give the warm finished bread another light brushing of extra virgin olive oil, and garnish with more rosemary sprigs if you like. Serve the bread warm or room temperature, with cheese, soup, antipasti or as a snack on its own.
- This is best eaten fresh, but you can freeze it and thaw still wrapped so the condensation says outside.
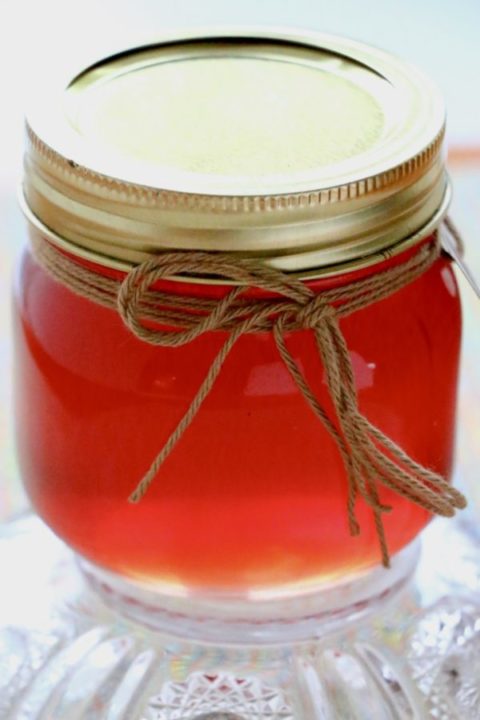
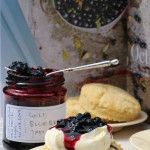
I’m using the term ‘jelly’ here in the American sense to mean a clear fruit topping for toast, not what the British call a gelatine ‘jelly’ — though having made the grape juice, this would certainly make a divine British jelly, too.
This method will work with whatever amount of grapes you happen to have. The first step is to turn the grapes into juice, and then determine the amount of sugar you’ll need based on the quantity of juice you get from your haul.
I have found that 1,200 ml (5 cups) of juice makes a good-sized batch: small enough to boil quickly so the taste remains fresh and the set is easy, but substantial enough to give you 3 or 4 jars of jelly.
For every 1,200 ml (5 cups) of juice, you will need 1,400g (7 cups) of preserving sugar (sugar that already contains pectin), plus the juice of one lemon to help the jelly set. American cooks can use these same proportions using SureJell or other commercial pectin products.
Before you start boiling your jelly, you will need to sterilise all your jars, lids, ladle, and other equipment such as a funnel to use when ladling the hot jelly into the jars. Wash everything in hot, soapy water, rinse well, and keep warm in a low oven for at least 10 minutes.
 To make the juice
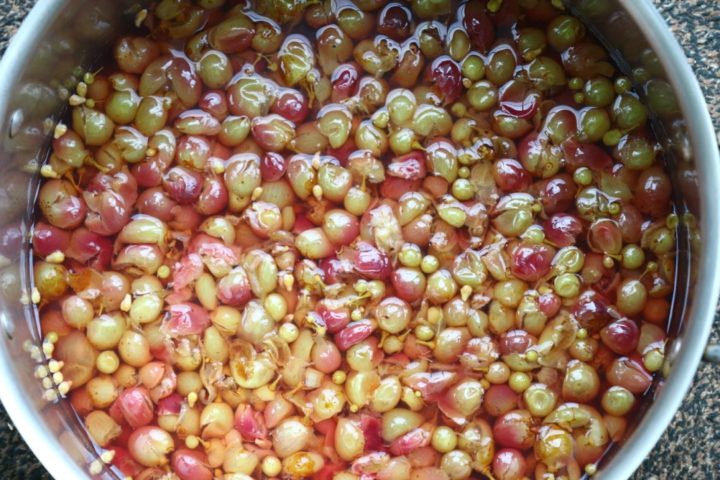
- Clean the grapes well and remove the stems. No need to take out the pips; they will get strained out with the skins.
- Use the largest saucepan you have. Add just enough water to allow 2.5 cm (1-inch) in the bottom of the pan, and bring the grapes to a low simmer. This will make a flavourful juice.
- Cook them until they’ve given up their juice and collapsed. You will notice the colour has drained from the skins and gone into the juice.
- Allow the pot and its content to cool before proceeding.
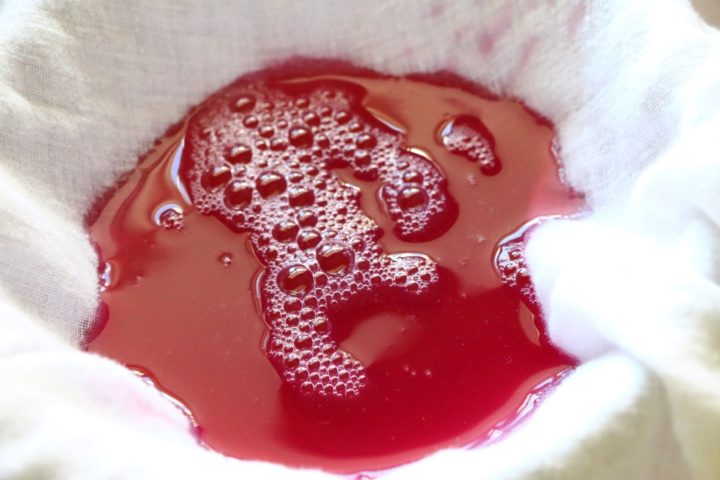
- Set a large sieve over a large clean bowl or saucepan and line it with 3 layers of muslin or cheesecloth, moistened with water. Ladle the cooled juice, skins and all, into the cloth-lined sieve, so the juice drains through into the clean vessel. Don’t apply any pressure at all to the fruits in the sieve, as you want the juice to be very clear. Any pressing to rush the process will cloud the juice. This straining process may take some time. You can speed up the process a little by carefully moving the muslin lining from time to time so the juices run through cleaner parts of the cloth. Just be careful not to upset the sieve.
- When the juices have stopped dripping, measure out the amount you have.
 Adding the sugar, pectin and lemon
Once you have measured your grape juice, you can determine how much sugar you’ll need, using the ratios given above, i.e.:
1,200 ml juice to 1,400g preserving sugar, plus the juice of one lemon;
or 5 cups juice to 7 cups sugar with added pectin, plus the juice of one lemon (it’s best to consult the directions on the pectin you buy to determine how much you’ll need as brands vary).
To cook the jelly
NOTE: For American cooks using a commercial SureJell or similar pectin product, follow the cooking instructions on the box.
- If using preserving sugar, add it to the grape juice in your largest preserving pan, Dutch oven, or saucepan, and add the lemon juice. Stir over medium heat to dissolve the sugar completely before the mixture boils. Wash down any sugar crystals on the side of the pan using a wet pastry brush.
- Now bring the mixture to a rapid boil, stirring frequently at first, and then constantly, once you reach a boil that can’t be stirred down. The jelly will expand considerably, so don’t let it boil over. You may want to protect your arm with long sleeves when doing this as hot jelly spits!
- Boil until the jelly thickens enough to drip slowly from the spoon. This may take only two minutes, or up to 5-7, depending on the acidity of your grapes.
- Test the set as follows: keep a couple of small plates ready in the freezer. Put a teaspoon of the jelly onto the cold plate, and blow over the surface gently. If it slightly wrinkles, it’s ready; it if runs freely, it needs more time.
- One you’ve reached the set, skim off any foam from the surface and discard. Then ladle the hot liquid carefully into the sterilised jars and seal tightly, using a cloth to protect your hands. Leave to cool completely. You should hear a loud ‘pop’ for each jar as it reaches a vacuum seal. The jelly will continue to thicken as it cools.
- Once sealed, don’t tighten the jars further as this will break the seal. The jelly should last several months in a cool pantry. It’s best to keep it refrigerated once opened. This jelly is particularly excellent with toasted walnut bread.
Other bread recipes on Crumbs on the Table:
Other jam and jelly recipes:

 Tour D’Argent: a remembrance of things past at today’s prices
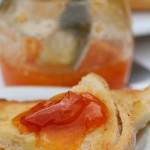 Apricots, les abricots
 I used to cook in a piggery
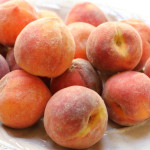

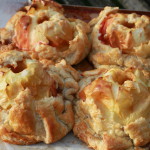
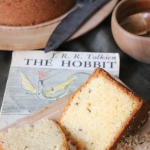 Seed cake and story


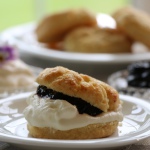
 Easter is late this year
Leave a Reply