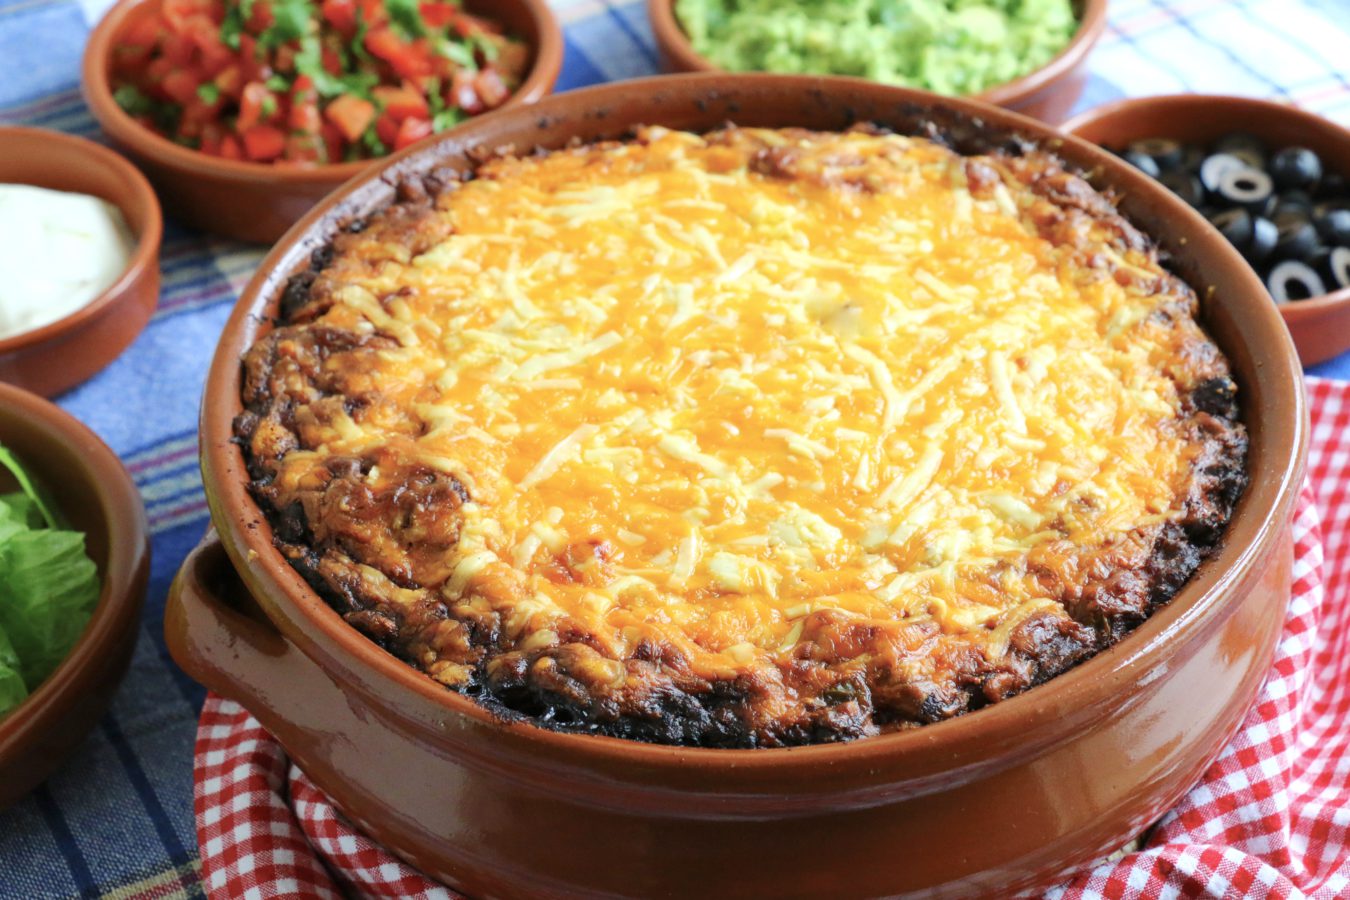
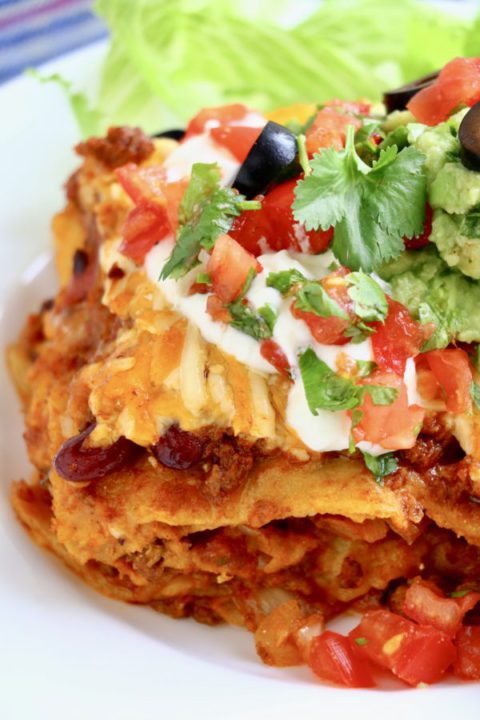
 After our long, hot summer, a sudden cold snap a week or so ago came as an unwelcome surprise and inspired me to make the first comforting pot of chili in a while. Now that summer has re-asserted itself, however briefly before autumn takes over, I have a plan… Some of that chili, delicious in itself by the bowlful, came out of the freezer today to make a fine dish of Tex-Mex enchiladas — one of my family’s very favourite dishes anytime of year, especially with fresh ‘fixings’ on the side. Corn tortillas are rolled up with the meaty chili, a handful of grated cheese and chopped onion, and topped with more chili and cheese to bake until melted and scrumptious.
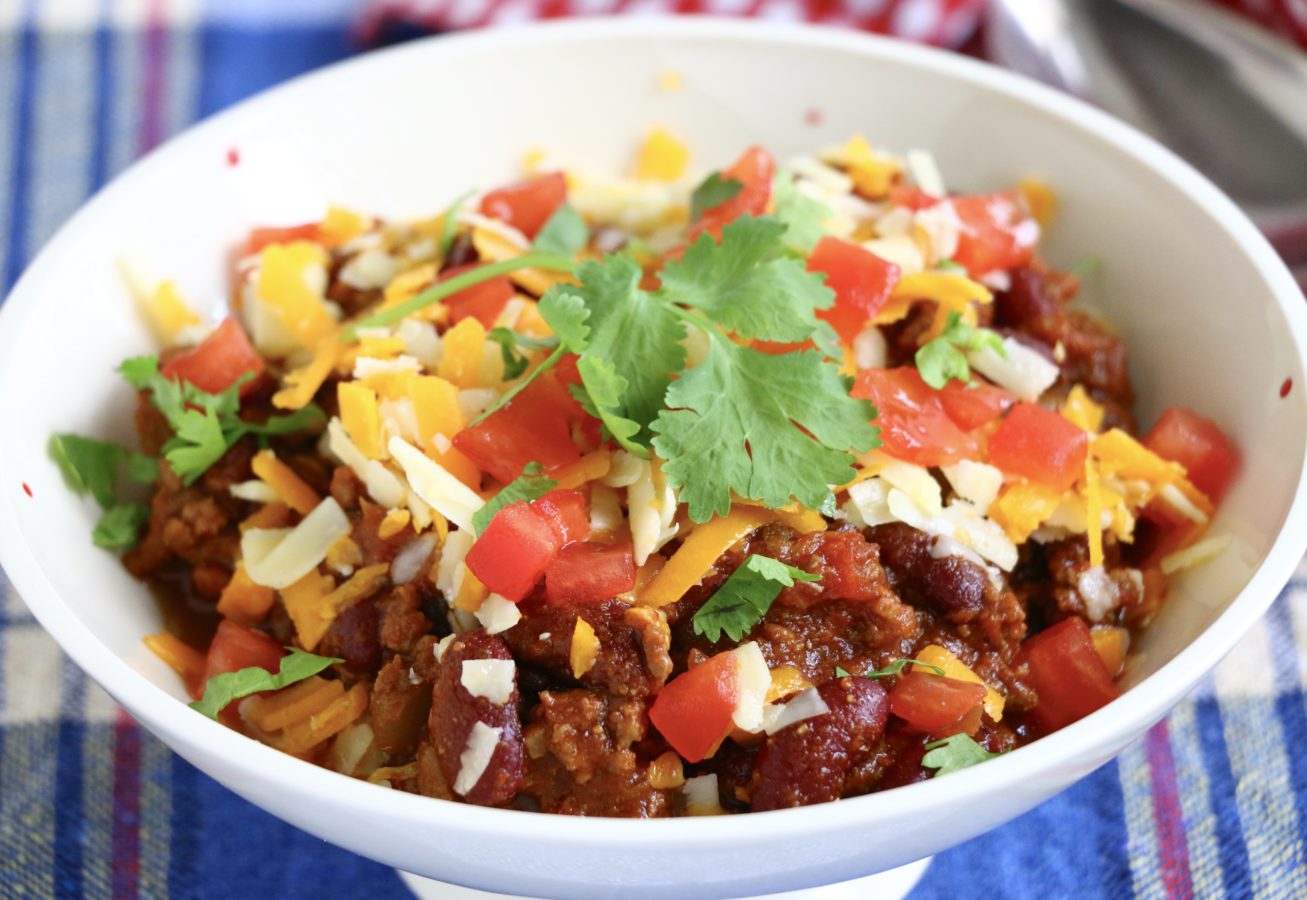
My version of Texas chili is inspired by my Mom (who uses ground beef) and my Uncle Dean (who often uses venison), and I still have their wonderful recipes, written in their own hands. I’ve been making it regularly to great reviews for about 40 years, tinkering with it just enough during that time to adapt to a few changes in ingredients, especially the variety of chili peppers now available in Britian. I’ve settled on this version for some years now, and think it’s pretty special: smokey, with layers of flavour, and a bit of a chili buzz, but not so hot that heat is all you get.
Making it is quick work and fills the house with gorgeous smells. It’s versatile, economical, tastes even better the next day, and freezes brilliantly. It also makes a great filling for tacos, so one humble pot offers at least three winning menu possibilities.
 I’ve found that chili-powder blends can be something of a gamble as they vary so much between brands, so I use reconstituted dried chillies when I can — usually the mild and sweet passilla chili, and/or the smokey, chocolatey and slightly hotter ancho — along with smoked sweet paprika (i.e. pimenton dolce), which adds superb depths of flavour. Smoked chipotle are good, too, if you like your chili hotter. If you use a favourite chili-powder blend, I suggest you still give the smoked sweet paprika a try as it will give you a wonderful smokiness without adding much heat — just make sure you get the sweet and not the hot pimenton (the hot is labeled picante), unless you want the added heat.
Sun-dried tomato paste adds more oomph than ordinary tomato paste, so it’s my default thickener now for both Mexican chili and Italian tomato sauces, when I can get it. It’s available in jars; just check the spice content, as you don’t want one with basil for this chili recipe.
If you have time, roasting and grinding the cumin seeds yourself will add another spice dimension, but ready-ground is of course perfectly good too. Just have a look that your herbs and spices — oregano, paprika, chillies, and cumin — are well in date for best flavour; it does make a difference, as stale spices don’t do their job as well. As for the tomatoes, I use Italian tinned tomatoes chopped in thick juice (with no added herbs). For beans, I use kidney or pinto or a chili mix with black beans — cooked from scratch if I plan ahead, added from a can if I’m rushed.
Ground venison makes an especially good and very lean chili, and so does bison, if you want a change from ground beef. Dean and my mom, in company with many chili afficionados, recommend a coarser grind of meat for chili, though I’m less fussed about that (it’s not always easy to get here in England). I used to prefer the 80% lean beef as the fat added flavour, but I now go for very lean venison for its richer, cleaner flavour, which suffers not a tad for being virtually without any fat at all.
This amount allows for three to four greedy bowls full, plus a generous dish of enchiladas to serve 6. A side-dish of cornbread doesn’t go amiss, and neither do a few of the traditional Tex-Mex garnishes or ‘fixins’: e.g., grated cheese, chopped tomato, avocado, coriander/cilantro… I was surprised to discover than Brits typically serve chili on top of plain boiled rice, which works well too, and extends the number of servings from a pot. This is also effective at calming down chili heat if you need to accommodate various tastes at one table.
 Recipes
Texas-style chili con carne
Enough for 8 generous bowls; OR 3-4 bowls plus enchiladas to serve 6
This Tex-Mex-style chili con carne has a mild chili-heat, but lots of flavour. I recommend seasoning in three or more stages, as the heat with develop as the chili cooks, and the overall balance of seasonings will change. Start with the amounts stated in the recipe and let the chili come to the simmer, making sure the meat is cooked through. At this stage, taste for the first time, adding more chili, cumin, paprika, or oregano, if you like. After you add the beans, taste yet again, as they will alter the balance of seasoning. And finally, check for a third time at the very end, before serving, for salt as well as heat.
Surprisingly, chili heat intensifies in the freezer, so if you are freezing some for people with a low tolerance of heat, bear that in mind. If you find you’ve gone a little overboard with the heat, add a tablespoon of sugar. If that doesn’t fix it, add another can of tomatoes and/or beans.
Ingredients
- 1 kilo (2 pounds 3 ounces) ground beef, venison or bison (coarsely ground if you prefer)
- 1 tablespoon olive oil
- 1 large onion, chopped medium-fine (2 cups)
- 1 large green bell pepper, chopped medium-fine (2 cups)
- 6-8 cloves garlic, chopped medium-fine (3 tablespoons)
- 1 ounce dried Ancho or Pasilla chillies (about 2 large); or 2 smaller, hotter, dried chilies such as smoked chipotle;
- Or use a ground chili blend and start with 1 teaspoon, adding more as required
- 1 rounded tablespoon smoked sweet paprika (use some hot /picante smoked paprika if you like very hot chili)
- 1 rounded tablespoon dried oregano
- 2 rounded tablespoons ground cumin
- 1 level tablespoon flaky sea salt (like Maldon), or half that amount cooking salt
- 180g jar sundried tomato paste (½ level cup plus 3 level tablespoons); or 2-3 tablespoons tomato paste (don’t use much more as it can be bitter)
- 3 x 400g (14-ounce) tins chopped tomatoes in thick juice or sauce (total 1200g / 42 ounces)
- 2 x 400g (14-ounce) tinned kidney beans or pinto beans (total weight 800g / 28 ounces undrained; and 480g / 17 ounces drained weight)
Directions
- Soak the dried chili peppers in boiling water just to cover. Leave to reconstitute for 30 minutes to a few hours. It’s possible to remove the skins once the chilis become soft enough, if you’re fussy. Remove the stems and open them up to remove the seeds. Rinse them free of grit and chop coarsely; set aside, and retain ½ cup of the strained soaking liquid.
- In a deep, large saucepan over medium heat, cook the chopped onions and green bell pepper in the tablespoon of oil for about 10 minutes, or until translucent and slightly softened. Add the garlic and cook for another minute: don’t let the garlic brown.
- Add the meat to the vegetables in the pot and increase the heat to medium high, stirring frequently, until the moisture has evaporated and the meat starts to brown. It’s worth spending time on this step if you can, as you’ll get more flavour from allowing the meat to colour a little than you would from cooking it only until it’s no longer pink (though if you are pressed for time, it will still be good, so don’t fret if you can’t).
- Lower the heat back to medium, and add the salt, cumin, oregano, sweet smoked paprika, and sun-dried tomato paste (or regular tomato paste) to the cooked meat mixture, and stir it in well. (If using a chili-powder blend, add it too.) Then add the tomatoes, including the sauce. Now add the chopped, soaked chilis and half the reserved soaking liquid.
- Bring the chili to a simmer, and allow it to cook gently for about 45 minutes, stirring occasionally. Taste it for heat and seasonings, and add the rest of the soaking liquid from the dried chilies if you want more heat.
- Add the cooked or tinned beans and simmer the chili for another 30 minutes, or until the meat is tender and the chili has reduced to a good flavour and consistency. Taste it again and make any further corrections to the seasonings. You may need to add more salt, as the beans can stand a lot of seasoning, but proceed a little at a time and allow a few minutes in between tastes for everything to dissolve and meld before adding more.
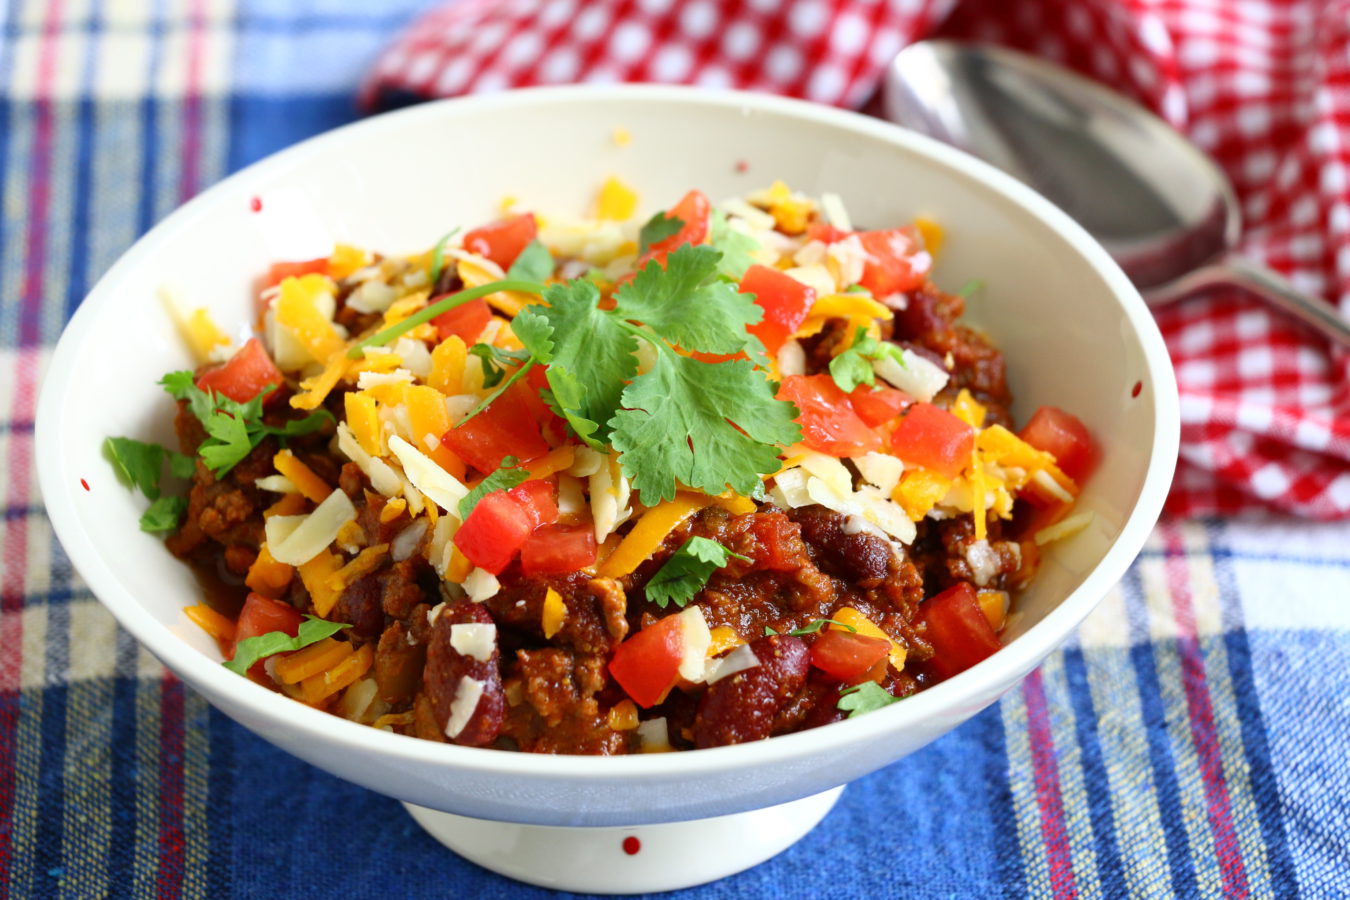
- Serve piping hot with whatever fixings you like: e.g., grated cheese, guacamole, chopped onion, fresh coriander, sour cream, sliced black olives, tomato salsa, extra chilis, cooked corn/maize kernels, corn tortillas, tortilla chips, cornbread … Serve it as a filling for tacos… Or use to make the enchiladas, below.
 Chili, cheese and onion enchiladas
Makes one 2.5 quart casserole to serve 6
These enchiladas are filled with chili con carne, chopped onions and cheese, then covered with more chili and cheese, and baked until deliciously melded together and piping hot.
This is a wonderful dish to assemble the morning you want to serve, or the day before, using chilled chili con carne you’ve made ahead. If cooking the enchiladas cold from the fridge, allow extra time for them to heat through completely: they should be bubbling around the edges and piping hot all the way through to the middle. The assembled dish can also be frozen, and either thawed before heating, or cooked from frozen.
If you can find 100% corn tortillas, they are ideal for maintaining their texture in this dish. Mixed corn-and-wheat tortillas are good too, but I don’t recommend using all-wheat-flour tortillas as they can become gummy.
These enchiladas are presented as a family-style Tex-Mex casserole, to be served in squares, wedges, or simply spooned onto plates. If you want to serve individual, intact enchiladas, assemble them in a larger dish or baking tray where there’s enough space between them to distinguish where one ends and the other begins, and bake for less time: about 30-35 minutes.
Ingredients
- Half one chili recipe, above (chilled or room temperature)
- 1 pack of 10 regular-sized corn tortillas
- 1 medium onion, chopped medium fine (about 1 cup)
- 225g (8 ounces or 2 cups) grated melting cheese, ideally a mix of an orange cheddar or Red Leicester, and white Monterey Jack or white cheddar
- Fixings to serve at the table: e.g:
- thinly sliced Romaine or iceberg lettuce
- sour cream
- guacamole or chopped avocado
- chopped fresh tomatoes or tomato salsa
- fresh coriander (cilantro)
- chopped onion or spring onion
- cooked corn/maize kernals
- sliced black olives
Directions
- Lightly grease a 2.5 quart oven-to-table dish that’s at least 7cm (2¾ inches) deep. Heat the oven to 190C/375F.
- Cover the bottom of the dish with a layer of the chili con carne — not too thickly, but enough to cover the surface. Reserve a similar amount of chili, or a bit more, to use for a top layer. Also set aside a cup of the grated mixed cheeses to finish the assembly.
- Fill the middle of one tortilla at a time with an equal amount of the remaining chili — a good spoonful — and add some chopped onions and grated cheese. Roll up the filled tortilla like a fat cigar, overlapping it slightly. The amount of filling should be generous, but not so generous that you can’t roll the tortillas securely. Place the filled tortillas into the dish seam-side down on top of the chili layer. Repeat the process using all the tortillas, packing them into the dish as tightly as you need to. Don’t worry if you have to lay them at right angles to each other to fit them all in. If you do end up with a leftover tortilla, rip it into strips and tuck them in amongst the other enchiladas.
- Use the remaining chili con carne to cover the rolled enchiladas, pressing it in to fill the nooks and crannies. Sprinkle the reserved cheese on top. Cover with a lightly buttered sheet of baking parchment or foil, taking care not to press onto the surface of the cheese itself, as it could stick when the cheese melts.
- Bake the enchiladas for about 30 minutes and then remove the foil/parchment paper. If cooking the enchiladas straight from the fridge, extend the cooking time under cover to about 45 minutes.
- Continue cooking uncovered for another 25-30 minutes or until the cheese is melted and lightly browned in places, and the enchiladas are piping hot to the centre. If the cheese is browning too quickly, cover the casserole again lightly with the parchment/foil.
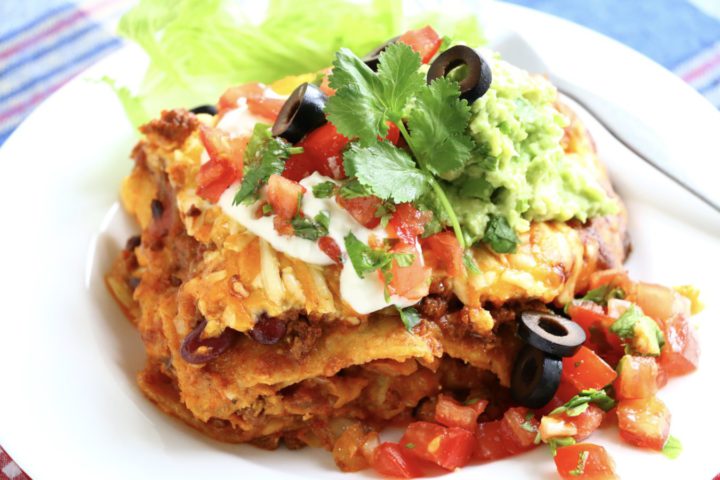
- Let the cooked enchiladas sit for 5 minutes before serving with whatever extras you fancy: e.g., a garnish of sour cream on top with some avocado, tomatoes, black olives, and fresh coriander. [Links here for guacamole and salsa recipes.]
Other Tex-Mex and compatible recipes on Crumbs on the Table:
- Sweet potato quesadillas with all the fixings (includes guacamole)
- Fresh tomato and coriander salsa
- Moist cornbread
Other easy do-ahead casserole recipes on Crumbs on the Table:


 Tour D’Argent: a remembrance of things past at today’s prices
 Apricots, les abricots
 I used to cook in a piggery


 Seed cake and story







 Easter is late this year
Leave a Reply