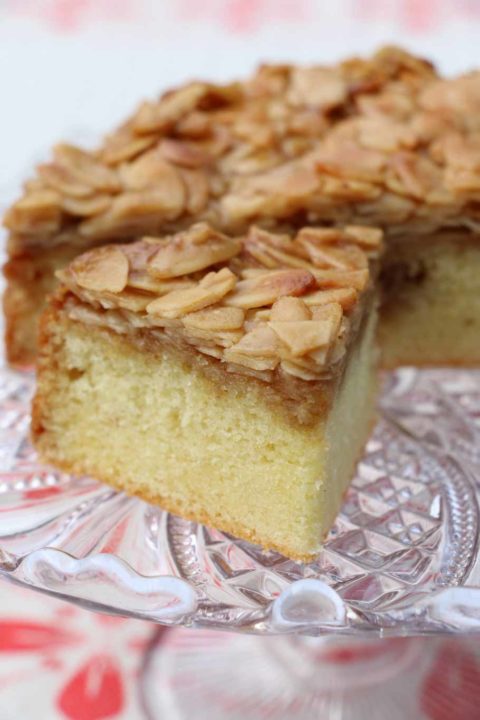
 This is a cake beyond the ordinary. I encountered Toscakaka (Tosca cake) years ago in Norway, where it is well-loved throughout the year. I associate it mostly with Christmas, however, as the best I had there was baked by a lovely woman named Elsa, who worked in the office of the student accommodation where I stayed. Elsa came to be a friend, and invited me to her home at Christmas time where she served a delicious Bergen fisksuppe and this memorable cake. The house smelled of caramel and toasted almond, and I remember the rapture of my first crunch through that sensational topcoat into the tender sponge.
I also had a favourite café in Bergen that had picture-windows overlooking the harbour, where I would sit with my notebook and a cup of coffee, and invariably a slice of this cake. I remember one magical winter afternoon there, dark as night, when snowflakes filled those windows with mesmerising whirls of sparkle and a tea light on the table charmed me with its gently dancing light.
That was the year I learned to appreciate winter. The Norwegians know how to make the dark days cosy, with a philosophical outlook, generosity with candles (lit the moment the light fades) and lovely things to eat. This was koselig — what the Swedes and Danes call hygge — and it taught me to love a season I had always wished away.
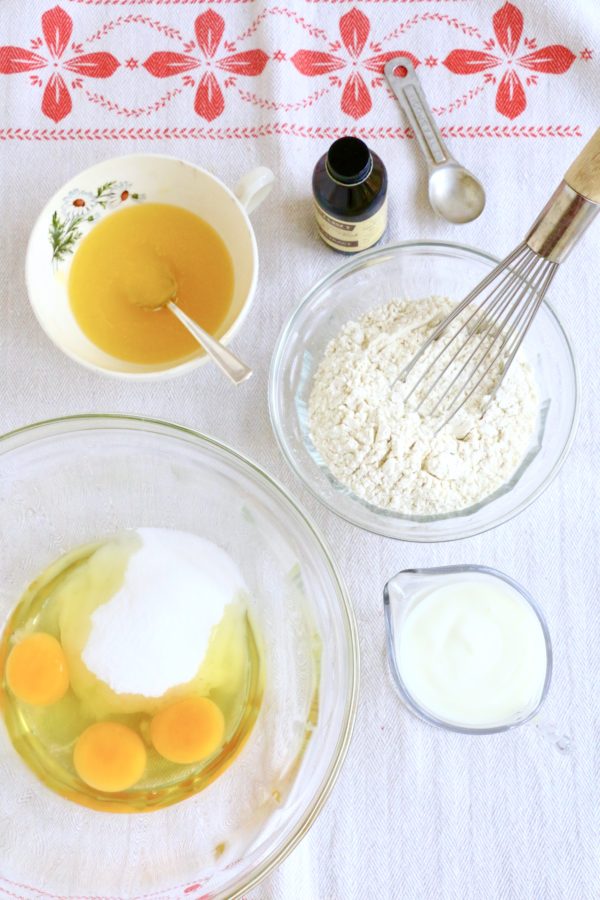 I encountered this wonderful recipe for Toscakaka years later through Emma Gardner, who bakes it from Signe Johansen’s recipe. Making it always brings a bit of Norsk koselig into the house. Emma recounts the praises sung for this cake by family and friends she’s shared it with, and those descriptions remind me of my encounter with it at Elsa’s: it looks like it’s going to be really good, but how good it is still takes one by surprise.
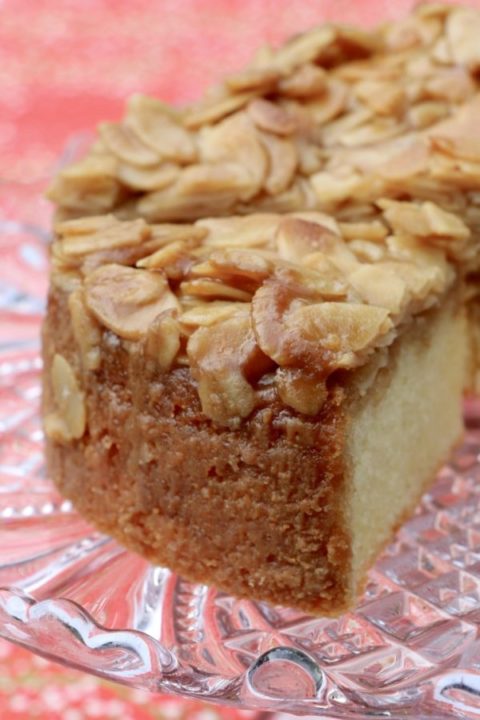 The Toscakaka is often attributed to Sweden, but it is certainly a feature of the Norwegian baking tradition, too, and I’ve also seen it in Denmark (and have read of it being popular in Finland). Scandinavian it certainly is, but why it’s called Tosca cake is disputed. Some say it was named for Puccini’s opera, and others claim it’s after Tuscan almond cakes. Whatever its origins, it’s understandably well-loved wherever it’s known. I’ve made it many times now for very international audiences and it invariably inspires the same raptures I recall from my transformative Norwegian winter.
RECIPE
Toscakaka: Scandinavian caramelised almond cake
Adapted from Emma Gardner’s Poire au Chocolat, who bakes it from Signe Johansen’s Swedish recipe in Scandilicious Baking. I’ve increased the amount of caramelised almond topping in their recipes by 50% to correspond with Elsa’s Norwegian Tosca cake.
The sponge follows a method similar to a classic genoise: i.e., ribboning the eggs and sugar to make a foam and then folding in the flour and melted butter. Unlike the more temperamental genoise, this easier Toscakaka uses baking powder to help aid lift, and it also uses a little buttermilk for extra lightness and moisture. Like a genoise, it does also benefit from care in folding the flour and liquids into the egg-and-sugar foam.
This cake is best on the day it’s baked or the next, but lasts well for three days, though the almonds get softer with time. If there’s any left on day four, a slice will refresh well if you give it 10-15 seconds in the microwave.
Ingredients
For the cake:
- 3 large eggs
- 150g (¾ cup) caster sugar
- 1 teaspoon vanilla extract
- 150g plain/unbleached flour (1 cup plus 3 level tablespoons, sifted before measuring — not packed)
- 1 level teaspoon baking powder
- 1/8 level teaspoon cooking salt
- 75g (5 tablespoons) unsalted butter
- 75ml (1/3 cup) buttermilk or the equivalent amount of whole milk clabbered with ½ teaspoon lemon juice or cider vinegar
For the caramelised almond topping:
- 225g (2 1/3 cups) flaked almonds
- 185g (6.5 ounces or 12½ tablespoons) unsalted butter
- 185g light Muscovado or light brown sugar (1 packed cup minus 1 packed tablespoon)
- 50ml (3 good tablespoons) whole milk
- 1 teaspoon vanilla extract
- ½ teaspoon flaky sea salt (such as Maldon)
Directions
- Heat the oven to 175C/350F. Butter a 23cm (9-inch) loose-bottom cake pan and line only the bottom with parchment paper cut to fit.
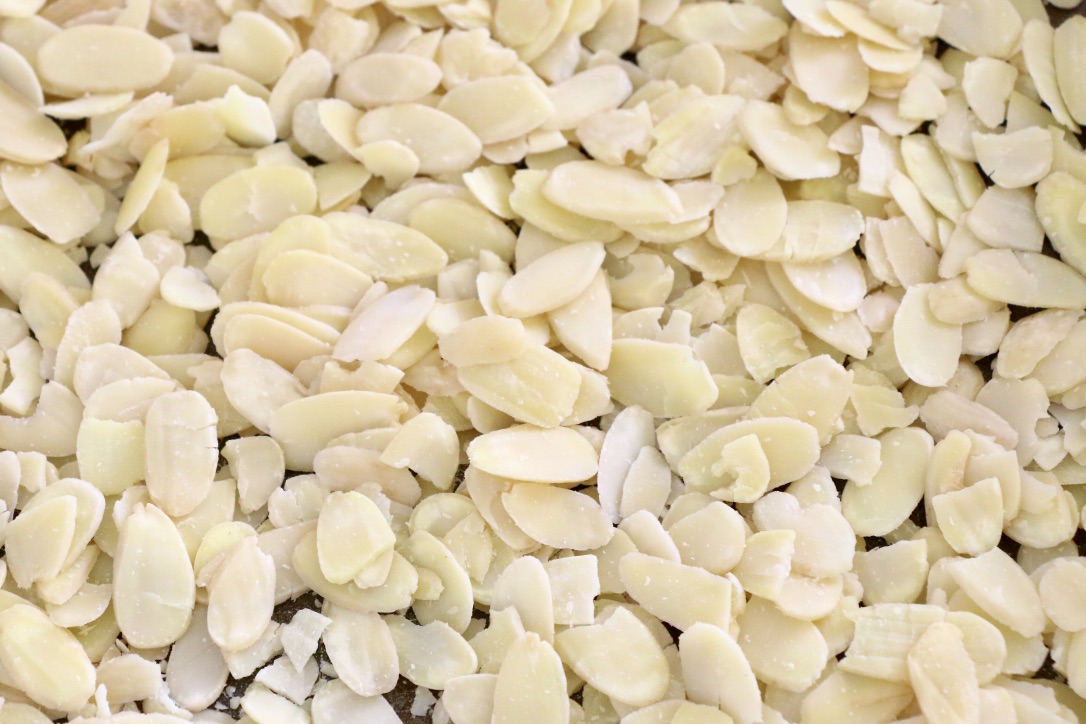
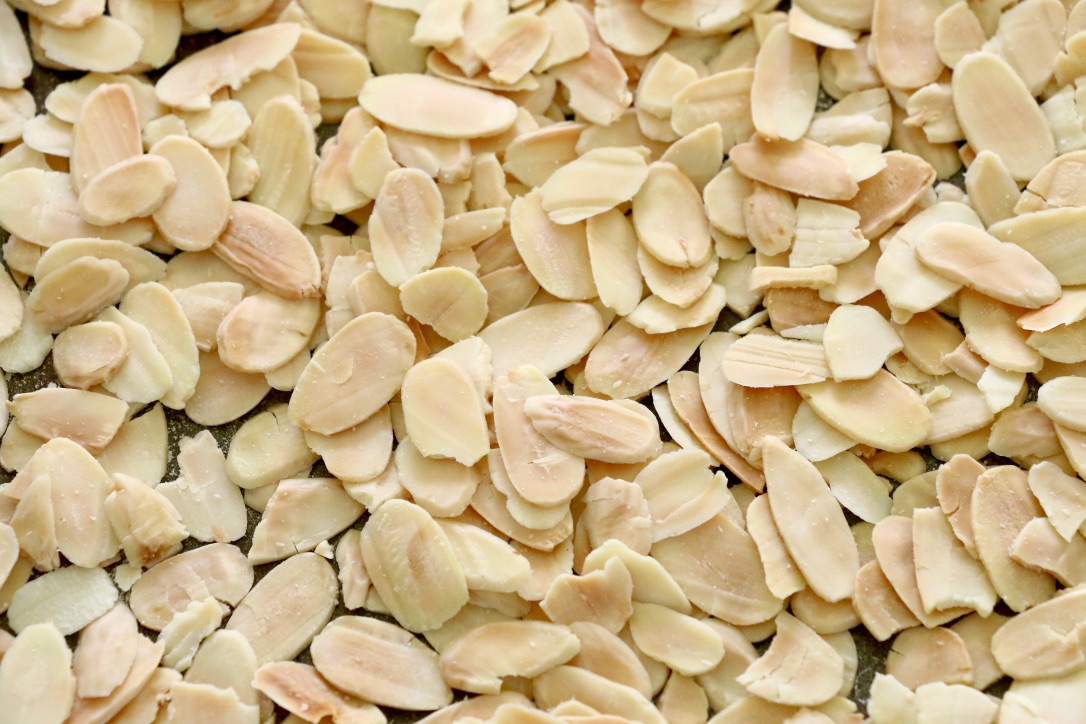
- Prep the topping: Spread the almonds in a single layer on a baking tray and toast them in the oven until light golden brown, about 10 minutes. Set aside. Put the rest of the topping ingredients into a medium-large saucepan and set aside (off the heat) for now.
- Make the cake: Melt the butter for the cake in a small bowl on medium heat in the microwave; leave to cool while you measure out the other ingredients. Sift the dry ingredients together into a separate bowl and set aside.
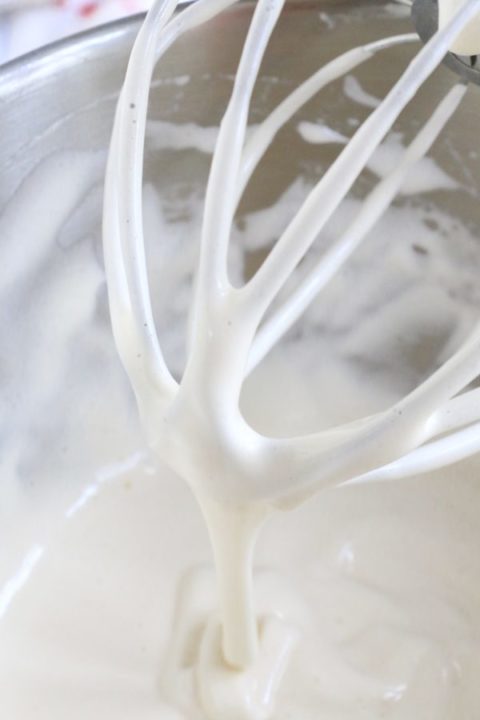
- In the mixing bowl of a standing mixer, or in a large mixing bowl if using a hand-held mixer, whisk together the eggs, sugar and vanilla — gradually at first, and then on high speed — until you have a light, airy foam. (If using a standing mixer, use the whisk attachment.) This step takes about 7-10 minutes, and is worth the time as it makes for a light-textured cake. To test if your foam is beaten enough, stop the mixer and allow the foam to fall from the beaters: it should form a thick ‘ribbon’ that stays on the surface for a few seconds before disappearing back into the rest of the foam in the bowl.
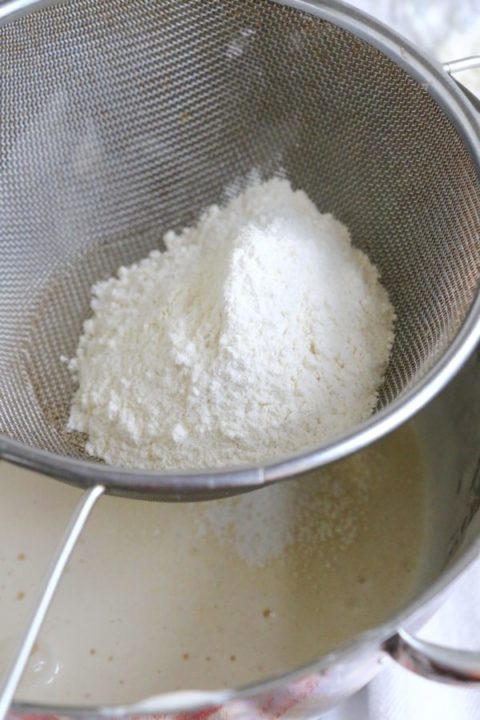
- Now you need to fold in the flour in three goes, alternating with the buttermilk. To do this, start by sifting one-third of the flour onto the foam, distributing it over the entire surface to make folding easier. Using the largest spatula you have (or a large serving spoon), gently fold it in, being as light-handed as you can and making sure you incorporate it well enough that no large streaks remain (a few bits are fine at this point).
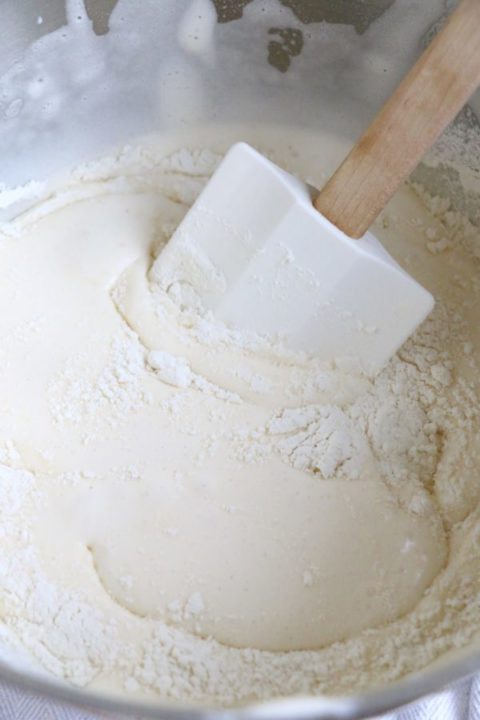
- Drizzle half the buttermilk (or clabbered milk) over the surface of the foam and fold this in lightly.
- Follow with another third of the flour, and then the remaining buttermilk. Finally, fold in the last third of the flour.
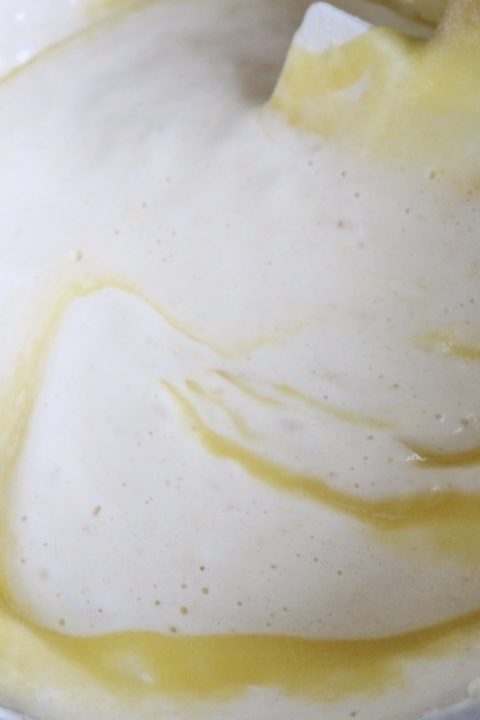
- The final step for the cake is to fold the cooled, melted butter into the mixture. Do this in two goes, and on the final folding make sure that no flour remains visible and that all liquids are also thoroughly incorporated. Keep using a light hand and don’t fold any more than you need to.
- Carefully pour the cake batter into the prepared tin and smooth it evenly in the pan. Bake it in the middle of the oven for about 20-25 minutes, rotating the pan halfway through for even baking (*at this halfway stage put the pan with the topping ingredients on a medium burner to start cooking). The cake is done when it’s golden on top and just coming away from the sides of the pan; a cake tester or toothpick inserted in the centre should come out clean.
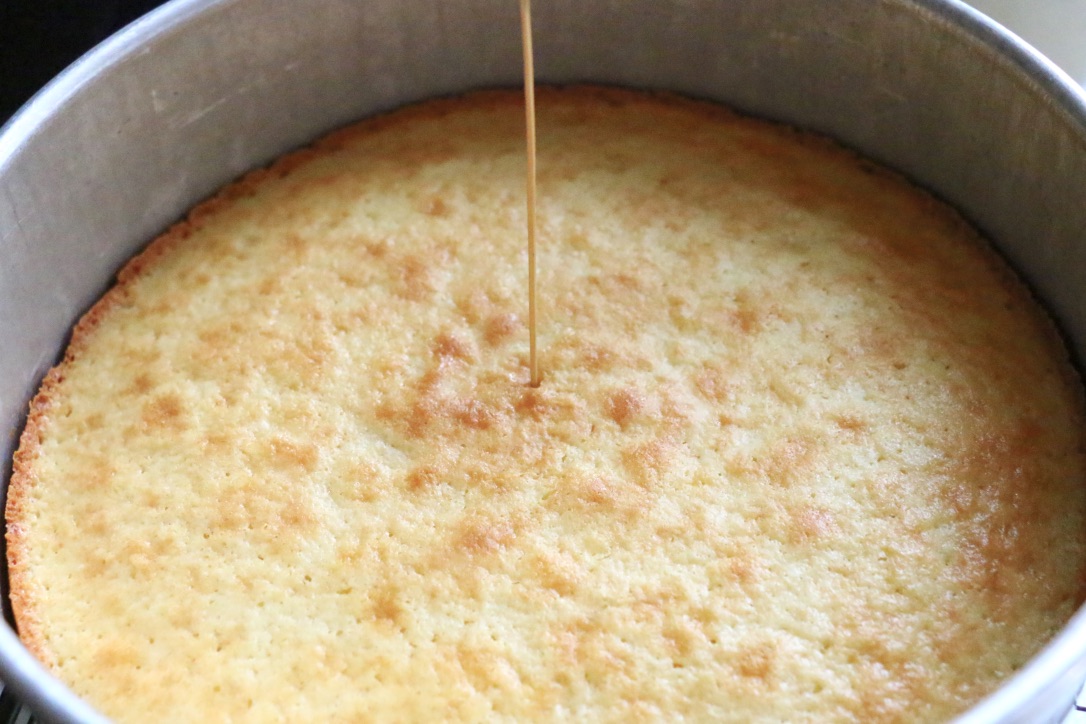
- As soon as the cake comes out of the oven, turn the oven up to 200C/400F and turn your attention back to the topping.
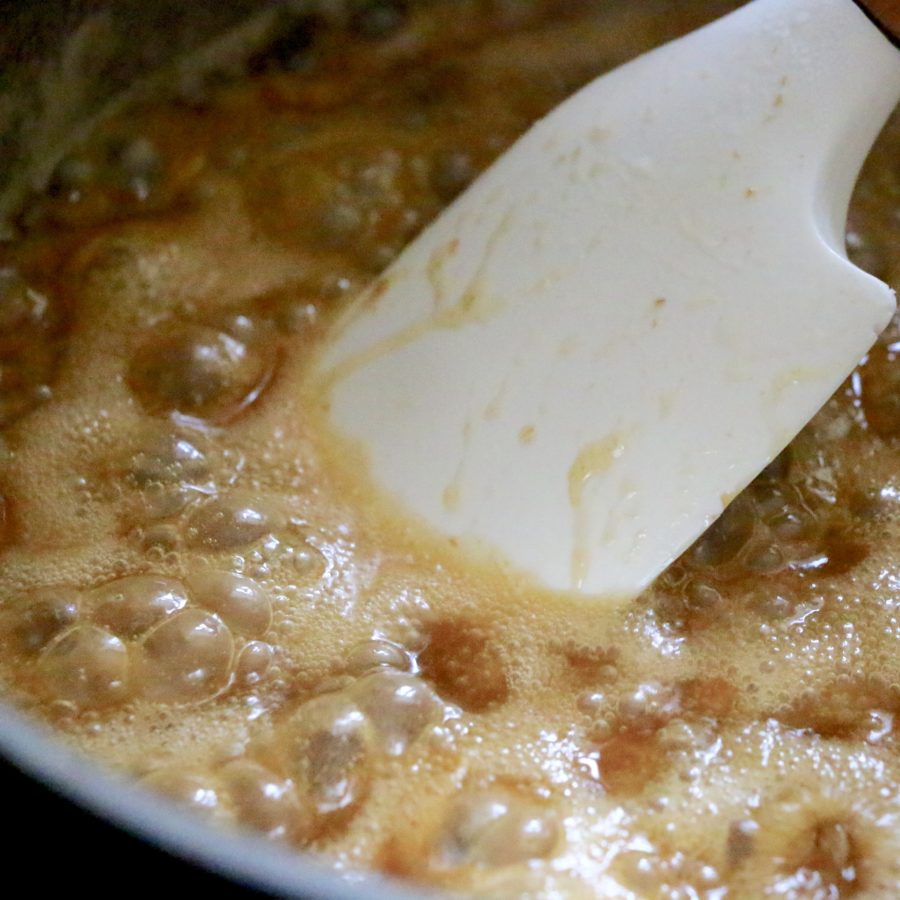
- Finish the topping: *Halfway through baking the cake, when you rotate the pan, start cooking the topping ingredients that you have added to the saucepan. Over medium heat, melt together the butter, sugar, milk, vanilla and salt, and allow the sugar and salt crystals to dissolve completely before bringing the mixture to a gentle boil. Stir occasionally and allow it to simmer for about 5-8 minutes until slightly thickened. Remove from the heat and stir in the toasted almonds so they are all well-coated in the sauce, being careful to avoid breaking them.
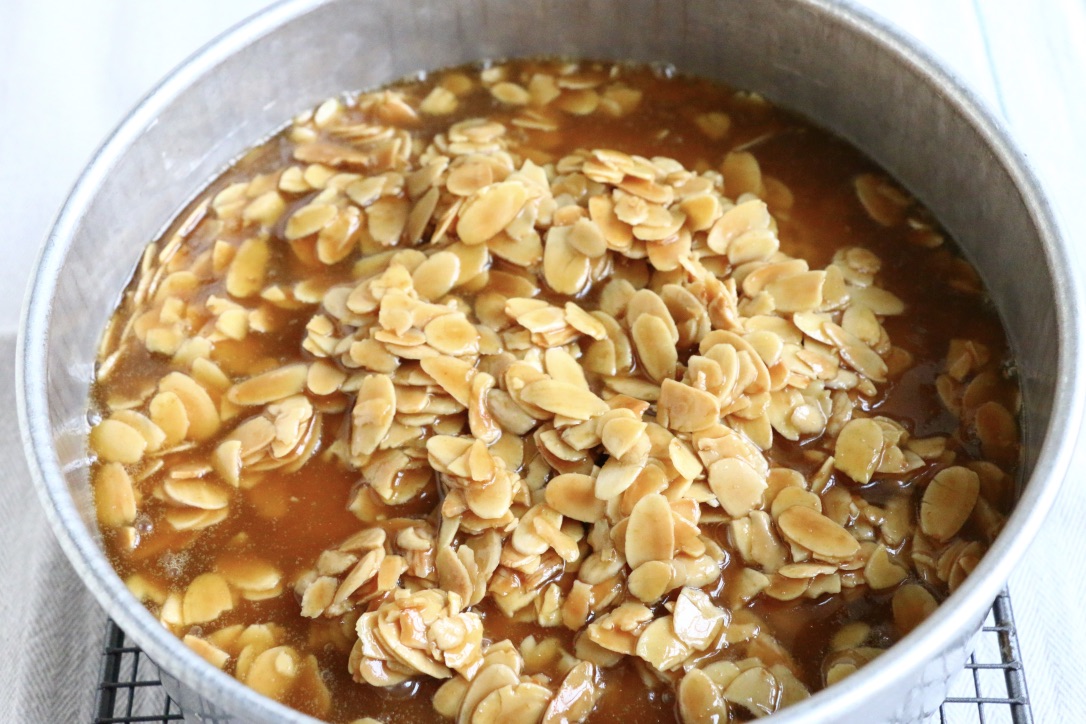
- Pour the almonds and caramel sauce over the top of the cake, still in its pan, and level them with a spatula. When the oven has reached 200C/400F, return the cake to the oven for a further 8-10 minutes until the caramel topping is bubbling and a rich golden colour (rotate the pan halfway through for even browning).
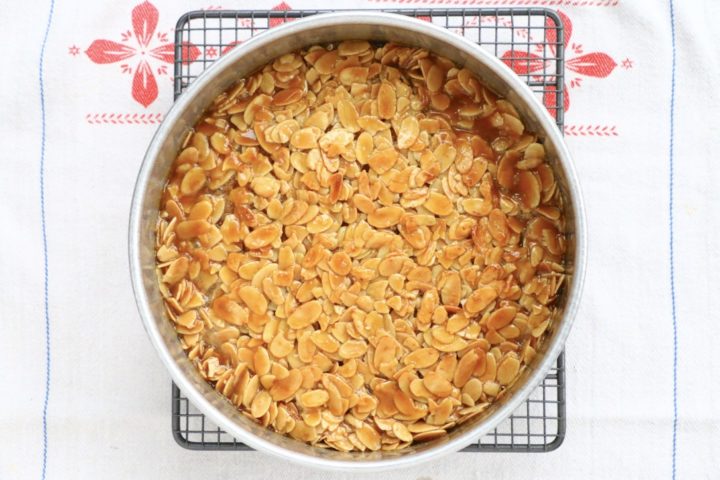
- Transfer the cake to a cooling rack and let it rest for 10 minutes. It’s best to remove the cake from the outer ring of the pan (but not yet from the base) while it’s still warm, before the almonds and caramel harden completely, as that would make it harder to release the cake.
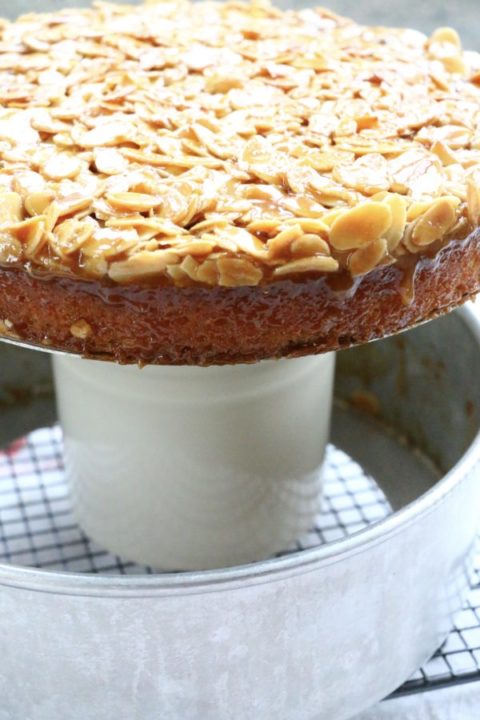
- The easiest way to do this is to set the cake, still in its pan, on top of a tall can or similar (make sure it is taller than the depth of the cake pan). Release the outer ring of the springform pan and gently pull it down out of the way. Using oven mitts (as the cake will still be very warm), lift the cake, still sitting on the base of the cake tin, from its perch on top of the tall can, back onto the cooling rack. When it is cool enough to handle, you can easily remove the cake from the base of the cake tin by running a metal spatula between the metal base and the bottom of the cake.
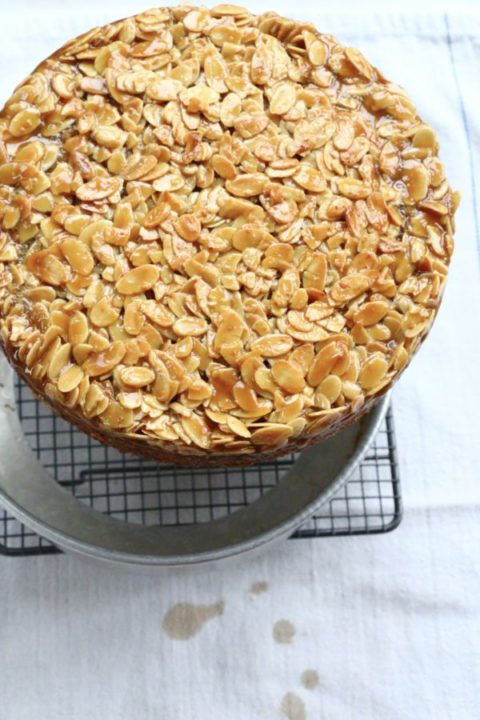
- Transfer to a serving plate. A sharp knife, ideally a serrated one, makes for the neatest slices. Store in a cake tin or similar, avoiding contact with the sticky topping.
* * * * * *
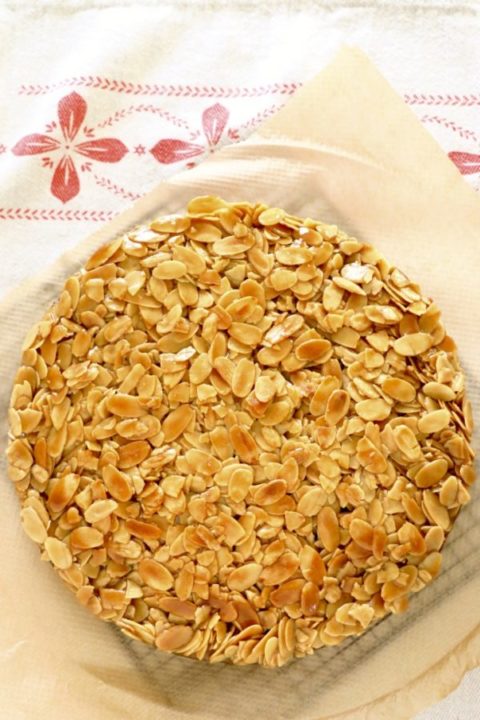 More almond recipes on Crumbs on the Table:



 Tour D’Argent: a remembrance of things past at today’s prices
 Apricots, les abricots
 I used to cook in a piggery


 Seed cake and story




 Easter is late this year
I’ve had this recipe saved for a long time and finally had the opportunity to make it.
This was FANTASTIC! I received raves from everyone who tried it.
There are a lot of steps but it is so worth the effort. Mine came out exactly like your photos.
Thanks for a great recipe that I will surely make again and again.