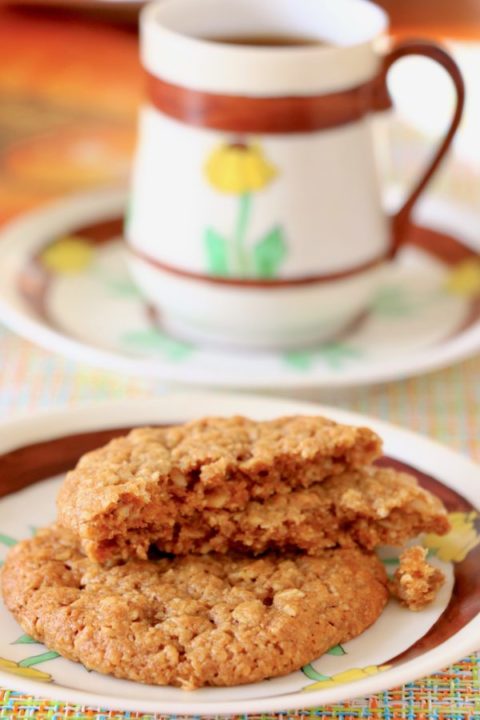
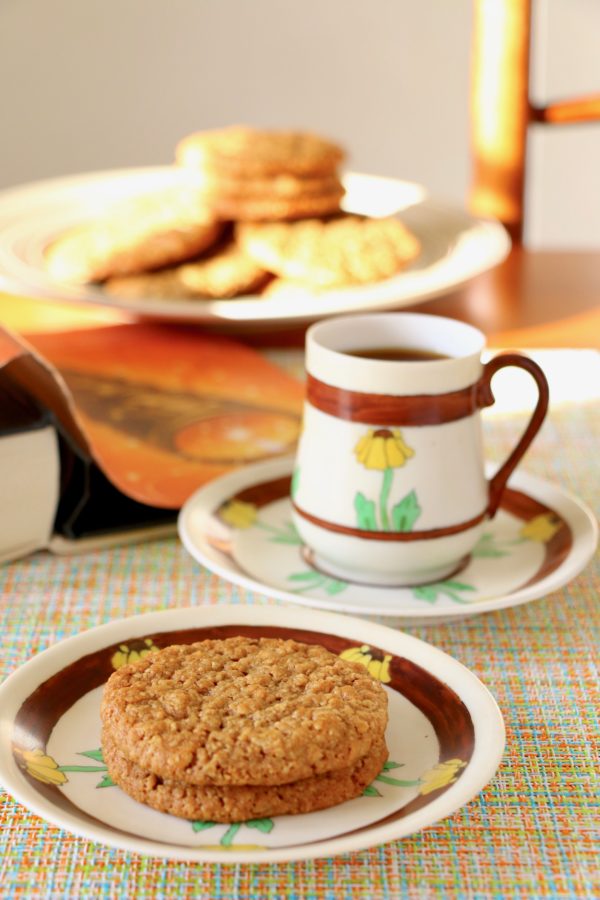
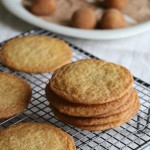
 These are very definitely a peanut butter cookie, but they are also a wheat free oatmeal cookie. I experimented with my favourite peanut butter cookie recipe to make some for a friend who can’t eat wheat, but can tolerate oats. I discovered that making them with oats makes for a really good texture and flavour: peanutty, a good balance of crunchy and chewy, and more-ishly salty sweet. There’s no compromise on peanut butter flavour with these, and there’s more fibre and longer-lasting carbohydrates from the oat flakes than there would be with wheat flour. This makes them a little less naughty than my standard peanut butter cookie, though I can’t pretend to myself they’re anything but a treat. Saying that (i.e. looking for justification to eat a cookie) they do actually seem to satisfy for longer. I especially like them rolled before baking in chopped roasted and lightly salted peanuts, which gives an extra energy-boost — but they are delicious naked, too.
 For the oat flour, I started with organic whole jumbo oats and pulsed them in batches in a sturdy blender (a food processor would work even better). I left some of the oat flakes quite intact, and some were pulverised pretty finely. If you buy ready-ground oat flour, I would go for a coarse-grind as I think these cookies are best when you have some recognisable oat texture.
As for whether the peanut butter should be smooth or crunchy, I know there are staunch loyalties in both camps, so use whichever you prefer. I tend to use smooth, but either works as well as the other.
If you use a peanut butter that’s sweetened (like most commercial brands), I recommend reducing the white sugar by 1 tablespoon.
The vanilla extract is optional, but it adds a dimension I miss if I leave it out. It is expensive, though, so if you don’t feel inclined to use your vanilla stocks here, you can leave it out and the cookies will still taste jolly good.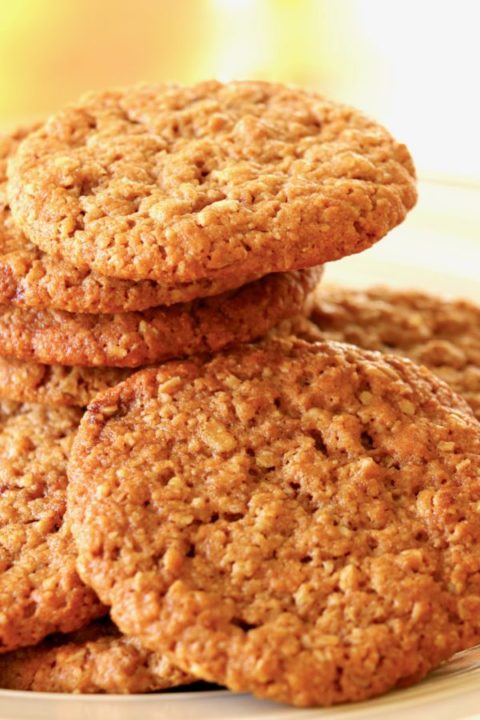 I find this an easy, unfussy recipe. You don’t even have to chill the dough before baking if you’re in a rush — though it’s easier to roll into balls if you do chill it first for at least an hour. In either case, running your hands under cold water every so often makes handling the dough less messy.
You can chill the dough for up to two days, or freeze it for some weeks, to thaw before rolling; or you can also freeze the dough balls on a tray and pop them into a freezer bag when they’re firm, to use as you want them. The baked cookies also freeze beautifully; just wrap well, and defrost still in their packaging so the condensation stays outside.
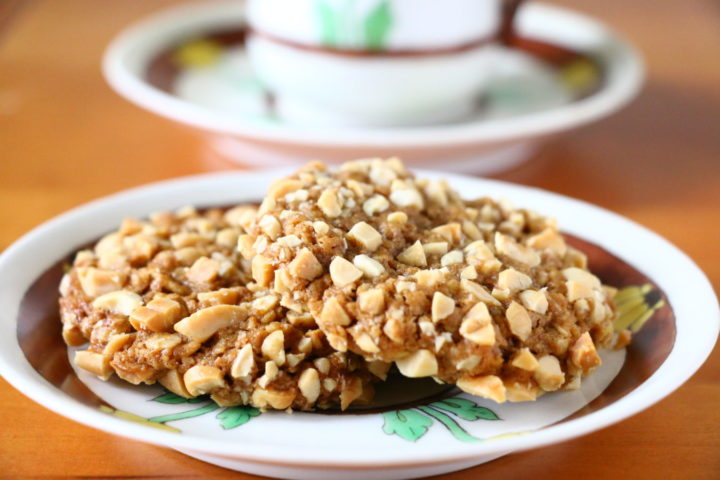
There’s just one loss with using oat flour instead of wheat. These don’t retain the classic criss-cross design on top that’s associated with peanut butter cookies. I use a fork to flatten the balls of dough slightly as I do with conventional peanut butter cookies, but the pattern disappears on these as the cookies bake. If you want to signal that they contain peanuts, you could place a few halved ones on top. These are also delicious, and even more peanutty, rolled in finely chopped peanuts before baking.
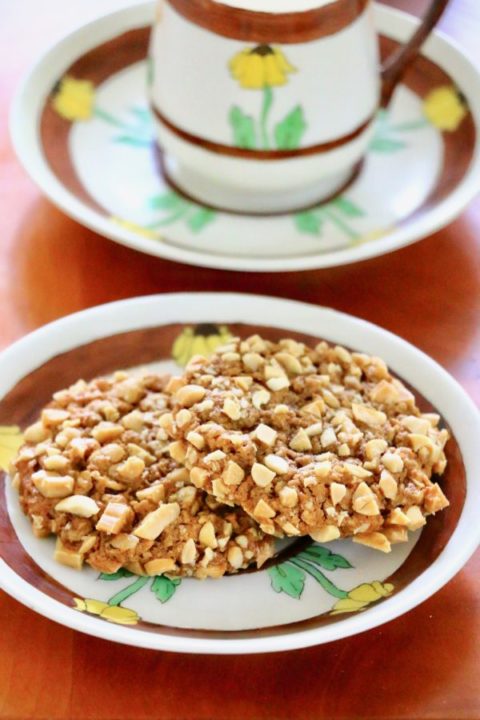
Peanut butter oat cookies
Makes 3½ dozen
Adapted from Cooks Illustrated, March/April 1998, with changes: including my substitution of oat flour for the original wheat flour.
BAKING TIPS for chewy versus crunchy cookies: I like to time the baking of these cookies so their outer edges are crunchy but the centres are still chewy. Slightly underbaking them so they are still slightly puffy in the oven gives them a moist chewiness. Baking them longer, until they flatten completely in the oven and go darker all-over, makes them crunchy throughout. Both versions are good, so try both and see which you prefer.
These cookies have to cool for a few minutes on the baking sheet before removing them to a cooling rack, as they are fragile when fresh from the oven.
When going for the softer bake, you still want the undersides of the cookies to be cooked through. To check once a tray has come out of the oven, turn one cookie over when it’s cool enough to handle. If there’s a darker, damp spot in the centre of the back, put the tray back in the oven for another couple of minutes.
Ingredients
- 225g unsalted butter (8 ounces or two sticks), at room temperature
- 200g (1 cup) caster (granulated) sugar — I recommend using 1 tablespoon less if your peanut butter contains sugar
- 200g (1 cup tightly packed) dark Muscovado or dark brown sugar, broken up so there are no lumps
- 280g peanut butter (1 level cup plus 2 tablespoons)
- 2 large eggs
- optional: 2 teaspoons vanilla extract
- 300g (2½ cups) coarsely ground oat flour, ideally with a mix of finer and flaky textures
- ½ teaspoon pouring salt
- ½ teaspoon baking powder
- ½ teaspoon baking soda
- optional: 200g – 300g (7 to 10 ounces) roasted peanuts, to chop finely and roll the cookies in before baking (lightly salted or unsalted are both good. Once chopped, you’ll need between 1¼ to 2 cups).
Directions
- In the large bowl of an electric mixer, cream the butter and the two sugars until light and creamy, about 7 minutes. Mix in the peanut butter. Then add the eggs, one at a time, and the vanilla if using. Mix everything until smooth, scraping the beaters and bowl a couple of times to make sure everything is well-incorporated. A flexible silicone spatula is good for this.
- In another bowl, combine the dry ingredients and stir through to combine them well. With the mixer on low, add the dry ingredients to the peanut butter mixture in three goes, and continue mixing just until the dough is well-incorporated. Again, give the bowl and beaters a couple of good scrapes to make sure.
- Ideally, cover the dough and refrigerate for at least an hour (or up to two days); you can, however, proceed right away.
- Heat the oven to 175C/350F. Line two baking trays or cookie sheets with foil, baking parchment, or silicone liner. (You can be filling one sheet while one is in the oven.)
- Wet your hands with cold water, and taking a bit of dough at a time, roll it into a walnut-sized balls in the palms of your hands. (I aim for each ball to weigh 26-28 grams, or just under one ounce, if you want to be exact.)
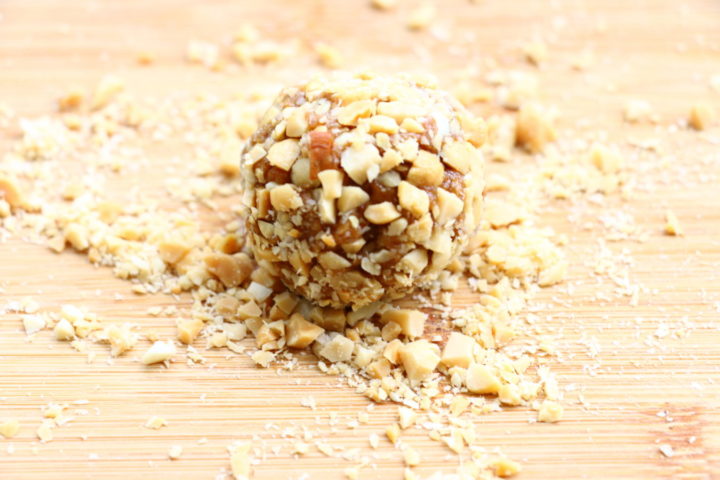
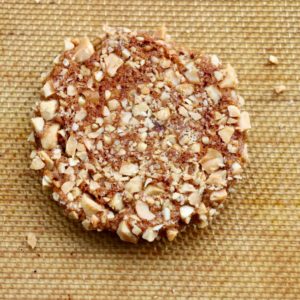
- Optional: If you are rolling the cookies in chopped peanuts, rub any excess salt off the peanuts using a clean kitchen towel, and chop them finely (they need to be fine for them to stick well to the cookies). Put the chopped peanuts on a plate and roll one or two dough balls at a time in them until the cookies as well covered as you want them. I’m greedy and cover them completely. Here’s a picture of the undersides of a baked cookie:
- Place the dough balls 6-7cm (2½ inches) apart on a baking sheet to allow for the cookies to spread. and flatten the balls slightly using a wet fork criss-crossed on top, or simply two wet fingers.
- Bake the cookies for 7 minutes, then rotate the tray and bake for another 5 to 7 minutes (total of 12 minutes-plus). For crunchy edges and a chewy centre, the cookies should look set on top, but still a little puffy and slightly underdone.
- Let the cookies cool to just warm on the baking sheet and then remove them with a spatula to a rack to cool completely before stacking or storing.
- These will last for 4 or 5 days in an airtight container. They can also be frozen; thaw still wrapped so the condensation stays outside.
Other favourite cookie recipes on Crumbs on the Table:
- Ciambellini al vino (Umbrian red wine and aniseed biscuits)
- Old-fashioned moulded gingerbread
- Snickerdoodles
- Rose and violet shortbread biscuits
- World peace cookies


 Tour D’Argent: a remembrance of things past at today’s prices
 Apricots, les abricots
 I used to cook in a piggery



 Seed cake and story







 Easter is late this year
Leave a Reply