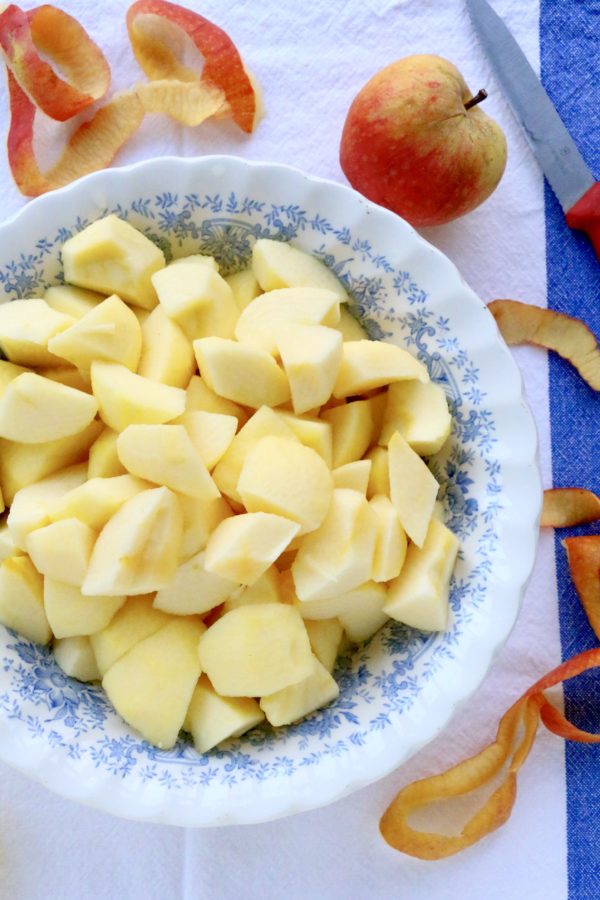
 For an island that’s grown an enormous variety of apples with pride and distinction for centuries, I’m surprised apple butter isn’t better known in Britain. A quintessential taste of autumn, this silky, sweet/tart apple-spread is taken for granted in my home country, or at least in those apple-growing regions of the States where I’ve lived. It’s a blessing of the season appreciated chiefly as a topping for warm toast, well-suited to cheering up cold winter mornings and gloomy afternoons. For some fans, my mother and me included, it satisfies a nostalgic craving that jams, honey or marmalade, good as they are, just can’t satisfy when the mood strikes. It’s equally irresistible by the stolen spoonful, and exquisite with ginger cake (‘gingerbread’ to my fellow Yanks).
Homemade, it’s one of those simplest of things that tastes so good for the very reason that it is simple, capturing the best of a fruit that has its own complexity. Sweetened with unrefined Muscovado sugar, the autumnal flavours amplified with a dusky hint of cinnamon and a bright squeeze of lemon, it’s made with these four straightforward ingredients. The name might mislead you as there’s no butter in it, but one taste will explain all: its mouthfeel – smooth, thick and sticky – is absolutely seductive, a butter made of fruit.
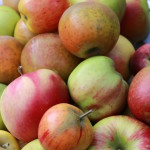
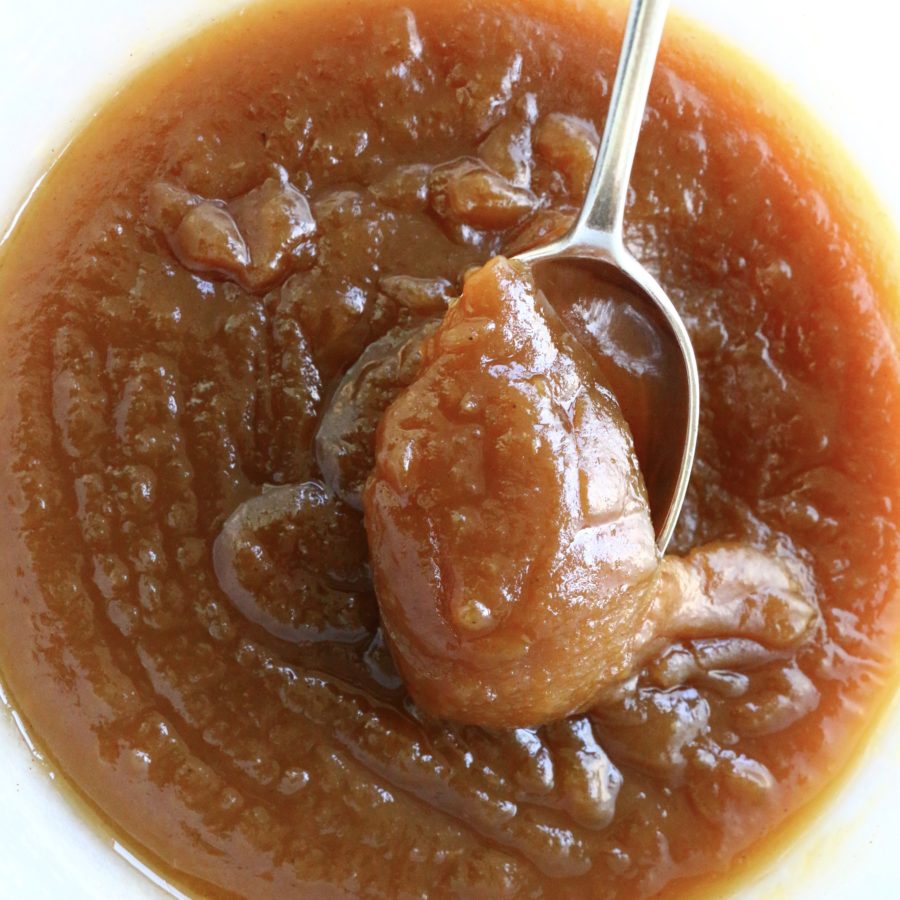 Making apple butter is one of the most delightful kitchen jobs, not least because it makes the house smell of the best things about autumn. It’s easy to make from any kind of apple, and in fact a variety is nice: I used our own Dr Kidd’s Orange Pippins, a lovely eater, and our gardener-friend Kim’s green, sharp Granny Smiths. Making apple butter is a brilliant way to preserve a harvest when there’s a glut, especially if you (like me) have fruits that aren’t perfect and need carving to be useable. It’s quick to knock up a small batch, not nearly as fiddly to make as jam, but lasting just as long as jam when it’s properly sealed in sterilised jars. Eating apple butter freshly made is a great seasonal treat, however, and if you manage not to eat it all at once, it does last about a month in the fridge.
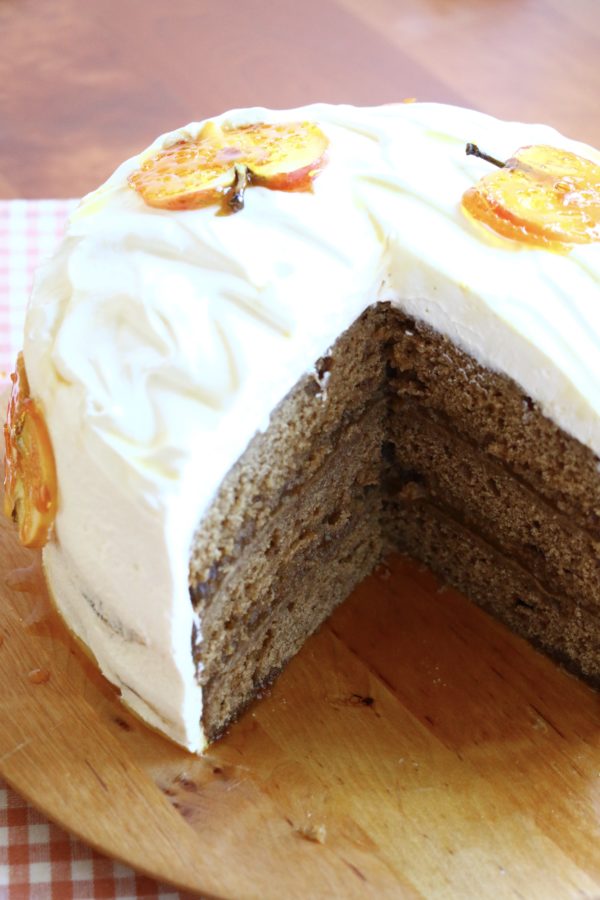 This apple butter and ginger cake combination comes from one of my sweetest memories of being in the kitchen with my mom. I remember her being quietly but genuinely delighted with her success in combining her favourite ginger cake with an apple butter filling and topping it with whipped cream. I remember us standing at the counter as we tasted it, united in appreciation of this delightful discovery, feeling close and happy. It was a golden moment.
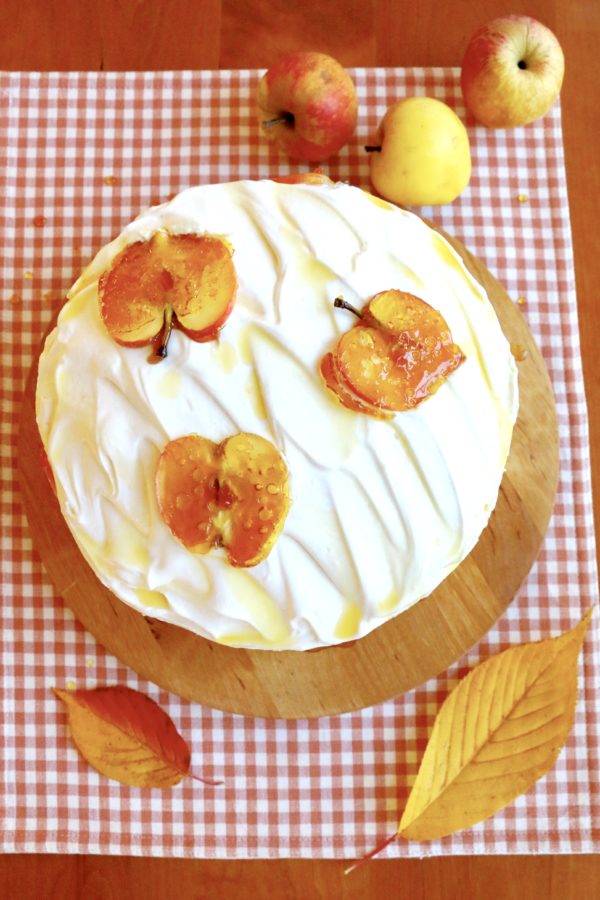 We’ve been reminiscing about that cake in our long-distance calls, as I’ve promised this year to make apple butter from my own apples in this bumper year. I’ve finally made good. I think I have recaptured at last the taste of that autumn afternoon all those years ago in the place we once called home. I’ve kept some jars of apple butter aside so I can make this cake on my next visit with my folks in the place they have made their home these past three autumns now, in expectation of some new moments of shared happiness.
It amuses (and reassures) me that both my countries link their national identity to this fruit. It’s probably the one edible thing that best helps me reconcile my own two national identities. I’m on safe ground with the apple, having such meaningful associations of them with both places: my childhood in southern New Jersey with the apple orchards that inspired my mom to make her apple butter and gingerbread; and my own little cottage in England with its one obliging tree, which I planted both to embrace my adopted Englishness and to stay connected with my Americanness.
 I made a fundamental mistake with pruning in its first year, so instead of developing into the elegant espalier I had envisaged, our tree has grown these years later into a funny, top-heavy specimen with a mohawk shock of tangled branches above a too-slender trunk. It is tenacious of life, obliging us in most years with a dozen or so precious fruits. This year, with our exceptional summer and mild winter, the precarious branches were so full they bowed deeper to the ground with every week’s ripening; and as I knew they would (for not even the most forgiving tree could give so much) some eventually snapped. I rescued the fruits, chasing them all over the garden, and they were flawed but good: crisp, juicy, fragrant, beautiful. Making apple butter for my mom (and, I hope, some new converts) was my way of appreciating the tree’s heroic generosity: probably a once-in-a-lifetime effort I will never see again. And I am pleased to say that not a single one was wasted.
 Recipes
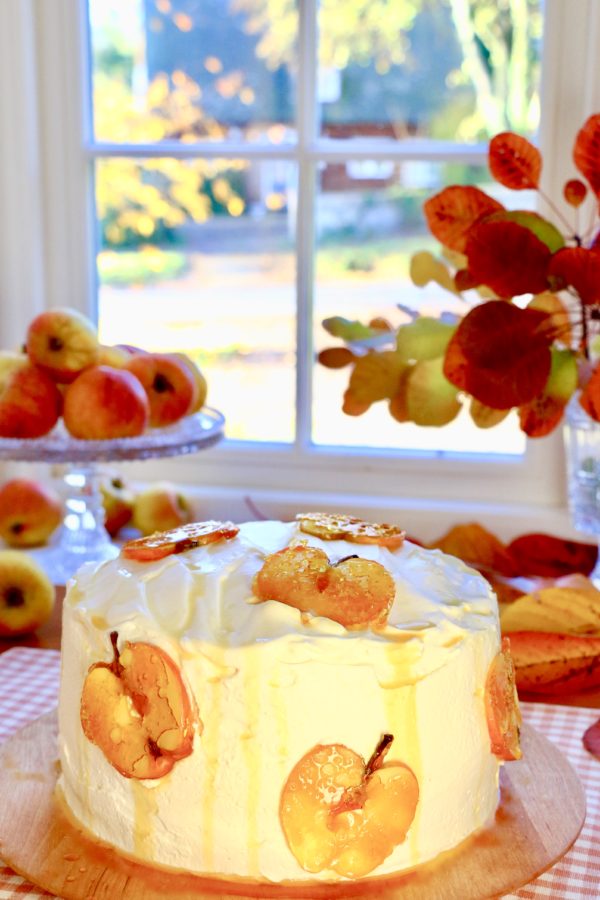
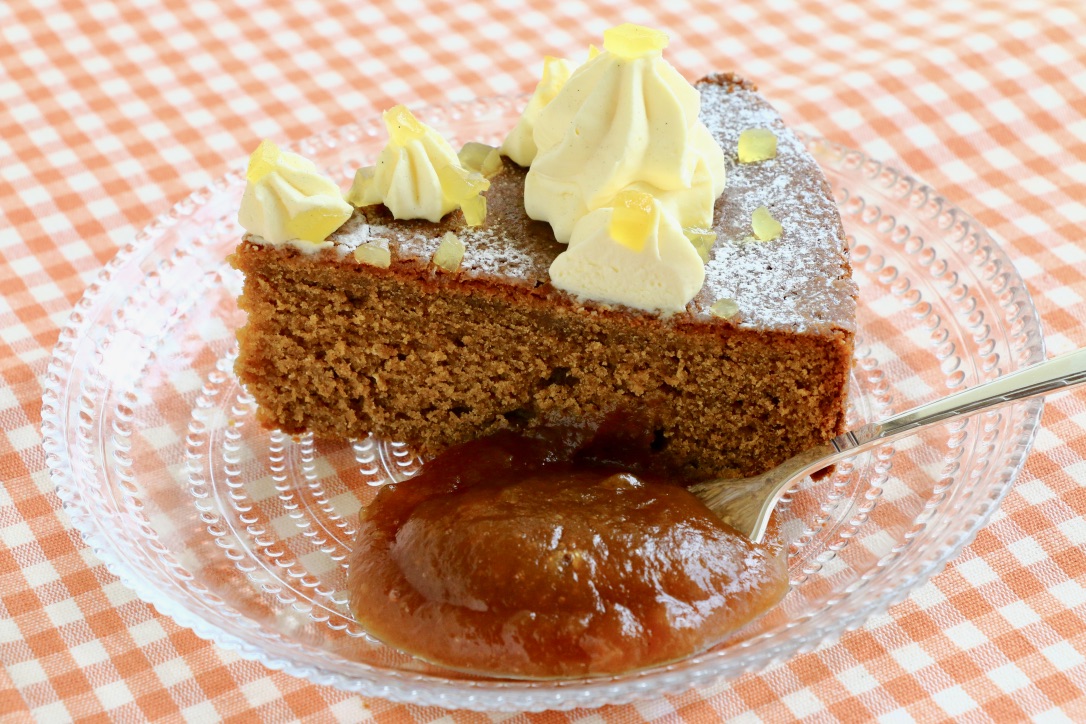
Ginger cake with apple butter and whipped cream
Serves 8-10
Makes: one 25cm (10-inch) round cake; or a cake of three 20cm (8-inch) layers; or one 33x23x5cm (9×13-inch) rectangular sheet cake.
Adapted, with changes from (amongst others) the: Settlement Cookbook (1968), Joy of Cooking (1972); Good Housekeeping (1962); and Nigel Slater’s Kitchen Diaries (2005).
I am happy with this tender-crumbed ginger cake. My mother’s original gingerbread recipe is lost in time, so I tried recreating it after consulting several recipes, new and old, including three from family cookbooks that she’s entrusted to me over the years. After trying several, this cake, which borrows from several of them, is the one I like best to go with the apple butter and whipped cream. It’s not as darkly metallic with treacle or molasses as some, as I didn’t want the cake to overpower the apple butter, and not as squidgy as a stand-alone ginger cake, as the apple butter adds its own stickiness; but it is rich, gingery and moist enough to be enjoyed in its own right if you don’t want to include the accompaniments.
Ingredients
- 225g (1 cup) unsalted butter, softened to room temperature
- 200g (1 firmly packed cup) light Muscovado sugar (or light brown sugar)
- 3 large eggs
- 100ml each of golden syrup AND treacle; OR 200ml (¾ cup plus 2 tablespoons) unsulphured molasses
- 280ml (1 cup plus 2 rounded tablespoons) buttermilk (or substitute whole milk clabbered with 1 teaspoon lemon juice or cider vinegar)
- 325g plain or soft ‘00’ flour (2½ cups all-purpose or cake flour, sifted before measuring)
- ½ teaspoon salt
- 1½ teaspoon baking powder
- 1 teaspoon baking soda
- 2½ teaspoons ground ginger
- 1 teaspoon cinnamon
- ¼ teaspoon cloves
To serve/assemble
- About 850g (2½ to 3 cups) of apple butter, made using recipe below
- About 480ml (2 cups) double or whipping cream (heavy cream), sweetened with 2 teaspoons sugar or syrup from a jar of preserved (candied) ginger
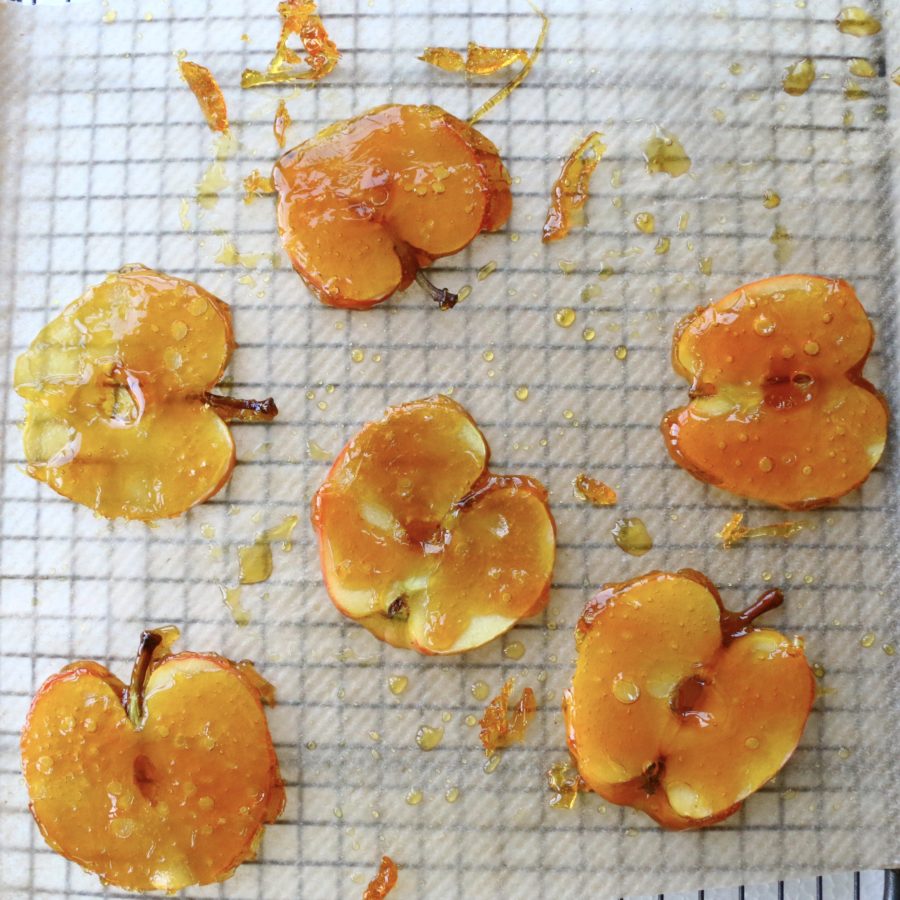
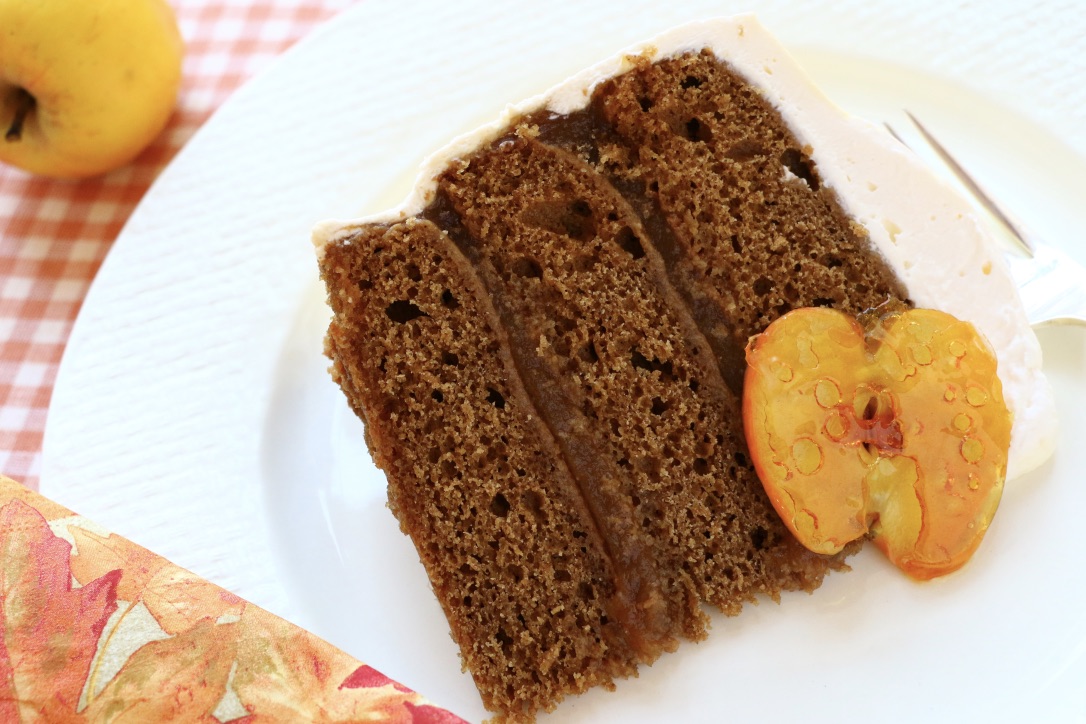
- Optional decoration: candied apple slices, made using instructions below; or preserved ginger in syrup (also called candied or stem ginger)
Directions
- Heat the oven to 175C/350F. Butter and flour your baking pan/s (see note above).
- In a large mixing bowl, cream together the butter and Muscovado sugar until light and fluffy in texture. Add the combination of treacle and golden syrup (or the molasses if using). I find it easiest to add these with the mixing bowl set directly on a set of scales (just remember to zero it before you start). Beat well until the texture is again light and smooth, and scrape the beaters to ensure all ingredients are well-incorporated.
- Add the eggs one at a time, beating well after each addition.
- In a separate bowl, combine all the dry ingredients and sift or whisk together to ensure the salt, rising agents and all the spices are well incorporated into the flour.
- Alternate between adding the dry ingredients and the buttermilk to the butter/sugar/syrup mixture. Do this in three additions, starting and ending with the flour. Stir with each addition just until the flour disappears, scraping the bottom and sides of the bowl as you go. Don’t overmix or the cake could over-rise in the middle and be tough.
- Pour the batter into the prepared pan/s, and smooth the top/s, ensuring the batter isn’t thicker in the middle. Bake the single-layer cakes for 40-50 minutes or until the cake begins to shrink away from the sides of the pan and the middle springs back when lightly touched. A cake-tester or skewer inserted in the middle of the cake should come out clean of all crumbs. If baking three layers, bake for only 20-25 minutes. Cool on a rack for 10 minutes, and then turn the cake/s out of the pan onto another rack to cool completely, so the flat underside becomes the top of the cake. If baking a rectangular sheet cake, you can leave the cake to cool completely in the pan and serve informally from it.
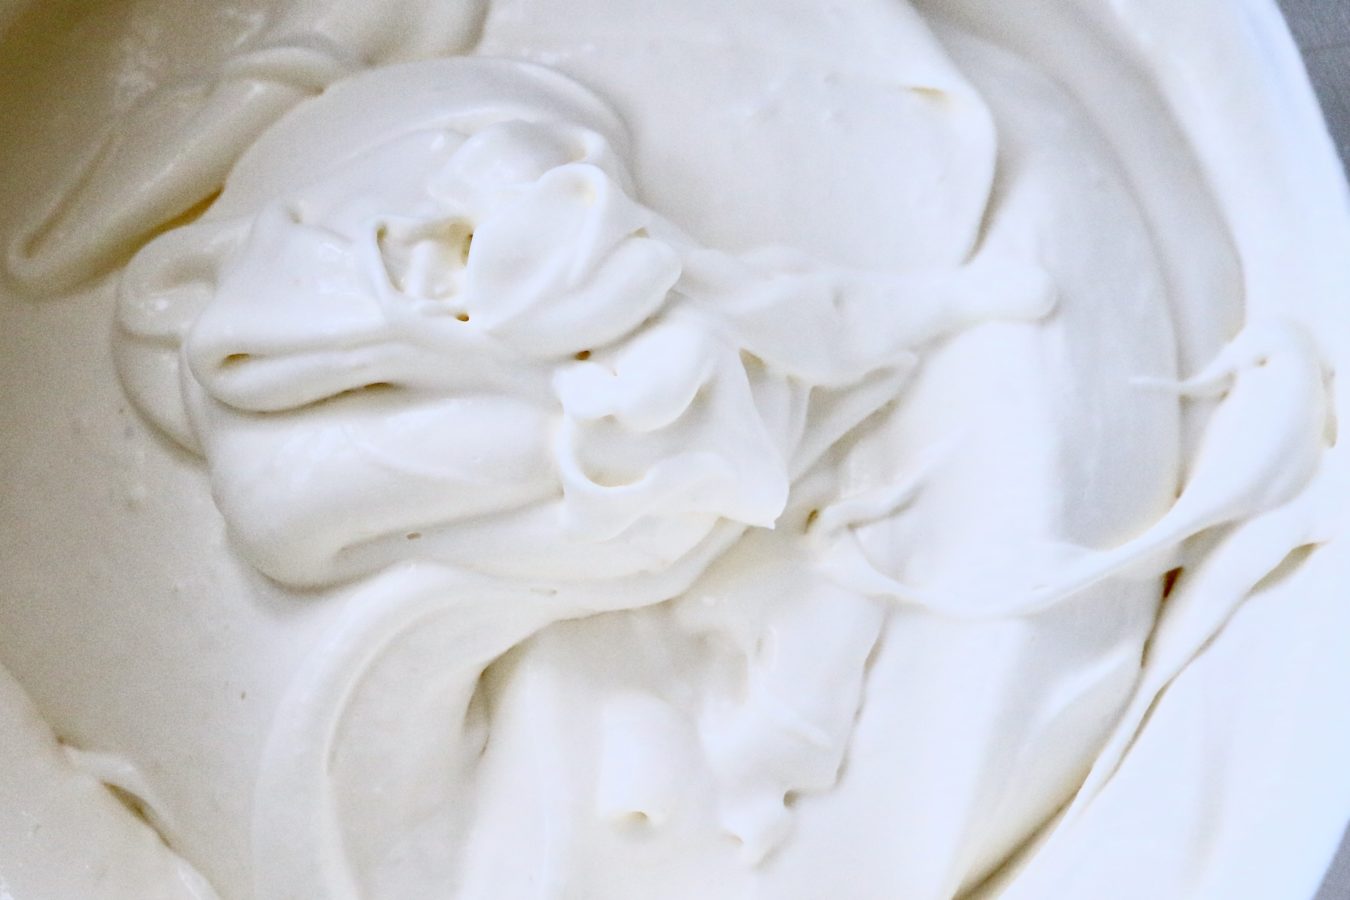
- Lightly whip the cream just until barely mounding. If piping the cream or spreading it onto the tops and sides of the cake, start with a looser set and beat further only if necessary, as the cream will thicken further as it’s worked. Keep under refrigeration under serving.
- Choose from the methods below to assemble and/or decorate the cake.
 Decorating and serving suggestions
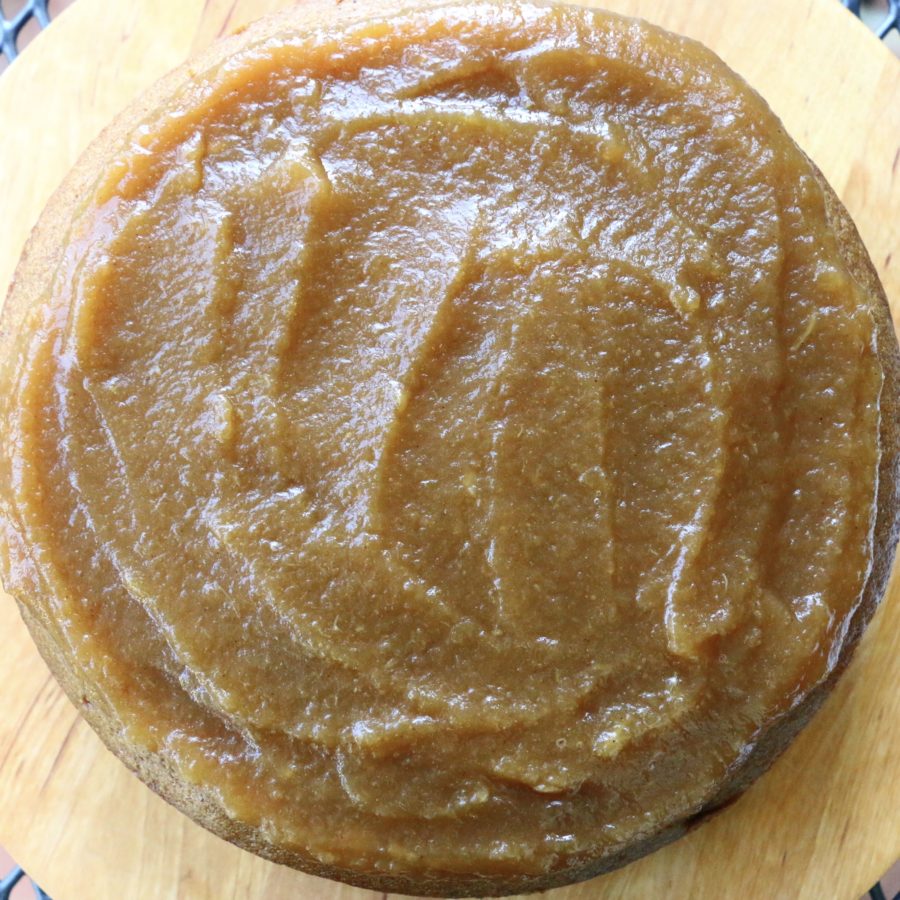
- For the single-layered 25cm (10-inch) round cake: When ready to serve, dust the top of the cake lightly with icing sugar, and pass bowls of loosely whipped cream and apple butter at the table for people to help themselves; OR pipe 8-10 rosettes of whipped cream on top (1 for each serving), scatter over some finely diced preserved (candied) ginger and finish with a drizzle of syrup from the ginger jar. Alternatively, spread the top of the cake with a generous layer of apple butter and then dollop the whipped cream on top without overworking it. Scatter over a little diced preserved ginger (also called candied or stem ginger) and add a drizzle of the ginger syrup.
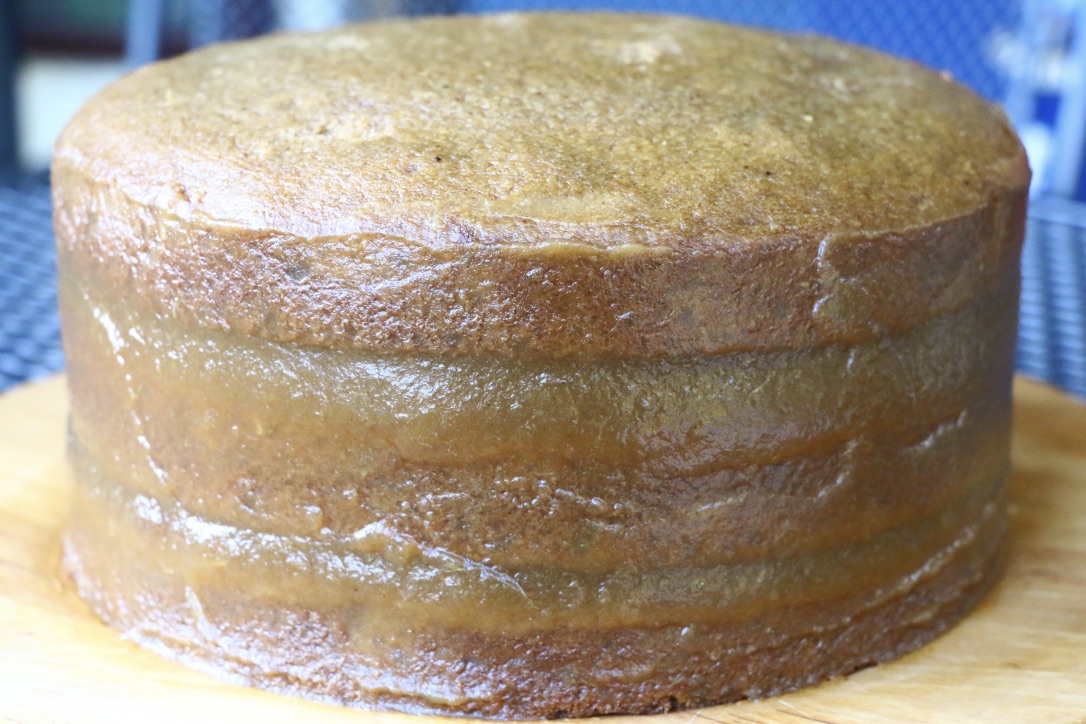
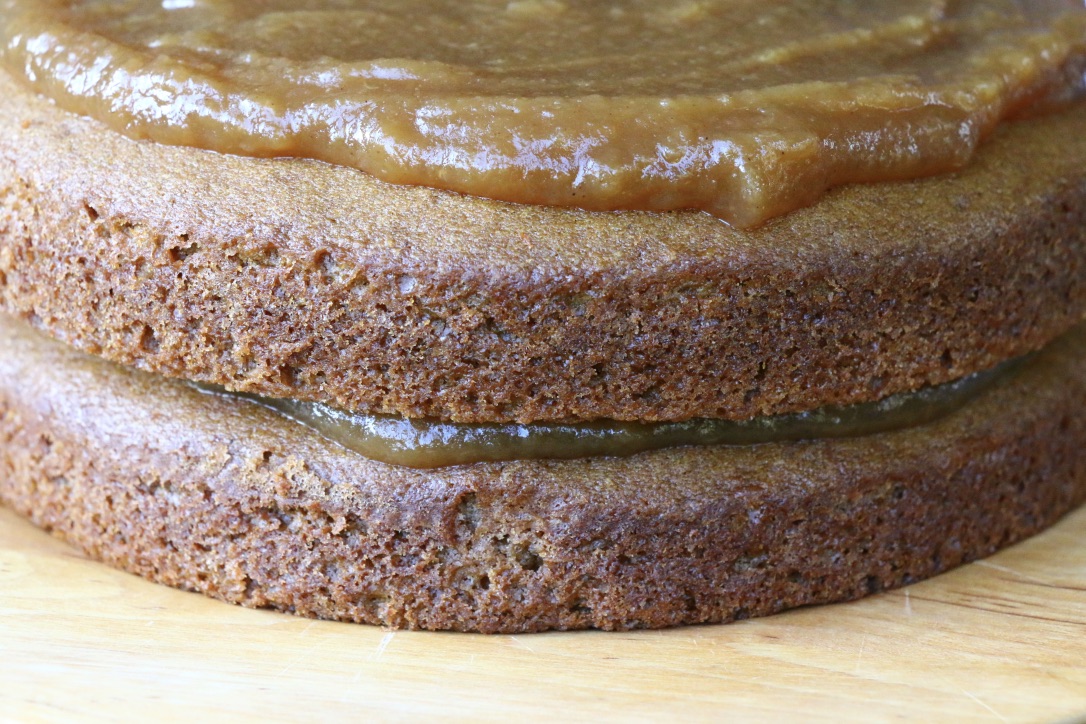
- For the 20cm (8-inch) three-layer cake: Fill generously with the apple butter and then give the sides of the assembled cake a very thin undercoat of more apple butter, just enough to moisten, before covering the top and sides of the cake with whipped cream. Assemble the cake directly onto a serving plate, and protect the edges of the plate from getting messy by placing strips of baking parchment or foil just underneath the bottom layer, so they can be pulled out easily when you’ve finished. Refrigerate until about half an hour before serving, and decorate then, either with diced preserved ginger and a drizzle of ginger syrup from the jar; or with caramelised apple slices (recipe below), which melt a little into the whipped cream to produce their own caramel syrup.
- The 33x23x5cm (9×13-inch) rectangular sheet cake can be cut into neat squares or rectangles, and the apple butter and cream served alongside as for option 1.
Makes about 850ml (2½ to 3 cups)
Use eating or cooking apples, or a combination of both, and adjust the sugar and lemon accordingly. (I typically use a combination of mostly eaters and 1 or 2 tart cookers.) You’ll need at least 700g or 1½ pounds of peeled and cored apple to yield about 850g (2½ to 3 cups) of apple butter. Depending on the size of your apples, you’ll need to start with about 1 kilo, or just over 2 pounds of whole apples. If using home-grown apples with their share of imperfections, allow a little more and weigh the prepared apples as you go.
Once the apple butter starts to thicken, you’ll need to stir it constantly to avoid scorching – it doesn’t take long, especially with the small batch specified here. I find it best to use a heat-proof silicone spatula for this job, as you can scrape the bottom and sides of the pan more efficiently than with a spoon.
You could double this recipe for a bigger batch of apple butter than you need for this cake, and either keep it in the fridge, or seal it properly as for jam in sterilised jars to store at room temperature (refrigerate once opened). If you do double the recipe, use a larger pan: this allows more of the apple purée to stay in contact with the heat, so the cooking time is quicker and the taste fresher. I wouldn’t advise making this in larger quantities; better to do multiple small batches.
Ingredients
- 700g (about 1½ pounds) peeled and cored apple, cut into chunks (start with about 1 kilo, or just over 2 pounds — see note above)
- 240ml (1 cup) water
- Juice of 1 lemon — more if needed
- 200g (1 cup packed) light Muscovado sugar
- Optional: ½ teaspoon ground cinnamon
Directions
- Cook the apples with the water in a medium-large saucepan with the lid on until the apples are completely soft. Cool slightly and then use a stick-blender, a blender or a food-processor, to purée the cooked apple to a uniformly smooth consistency.
- Return the smooth purée to the saucepan and add the sugar, lemon juice, and cinnamon if using, and cook over medium heat until it reaches a gentle boil, stirring constantly and scraping the sides and bottom of the pan to prevent scorching (a silicone spatula is ideal for this).
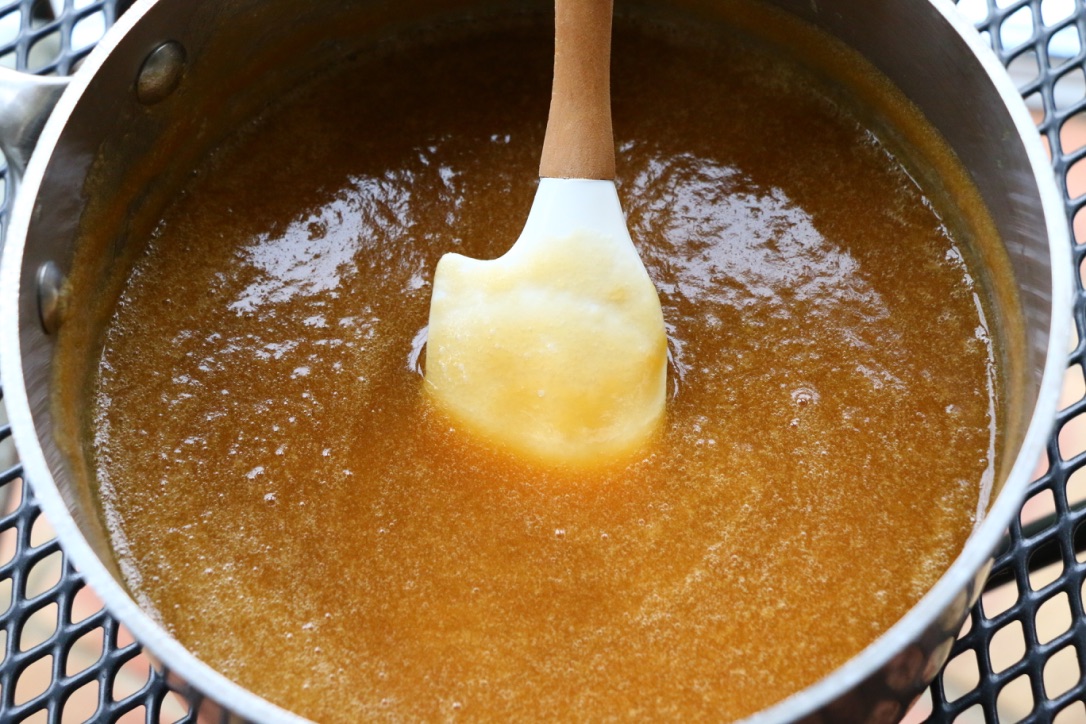
- Continue to simmer gently until the purée is thick enough to fall from the spatula in a sheet – about 5-10 minutes. You will know it’s nearly there when the bottom of the pan starts to show for a second or two when you scrape it with a spatula. To test whether the apple butter is thick enough, spoon a bit onto a small plate. If it retains a mound shape and oozes no liquid, it’s done. The apple butter will continue to thicken as it cools. It needs to be thick enough to mound slightly, but don’t overcook it or the natural pectin in the apples could make it almost solid and too firm to spread (like a quince membrillo or damson ‘cheese’**).
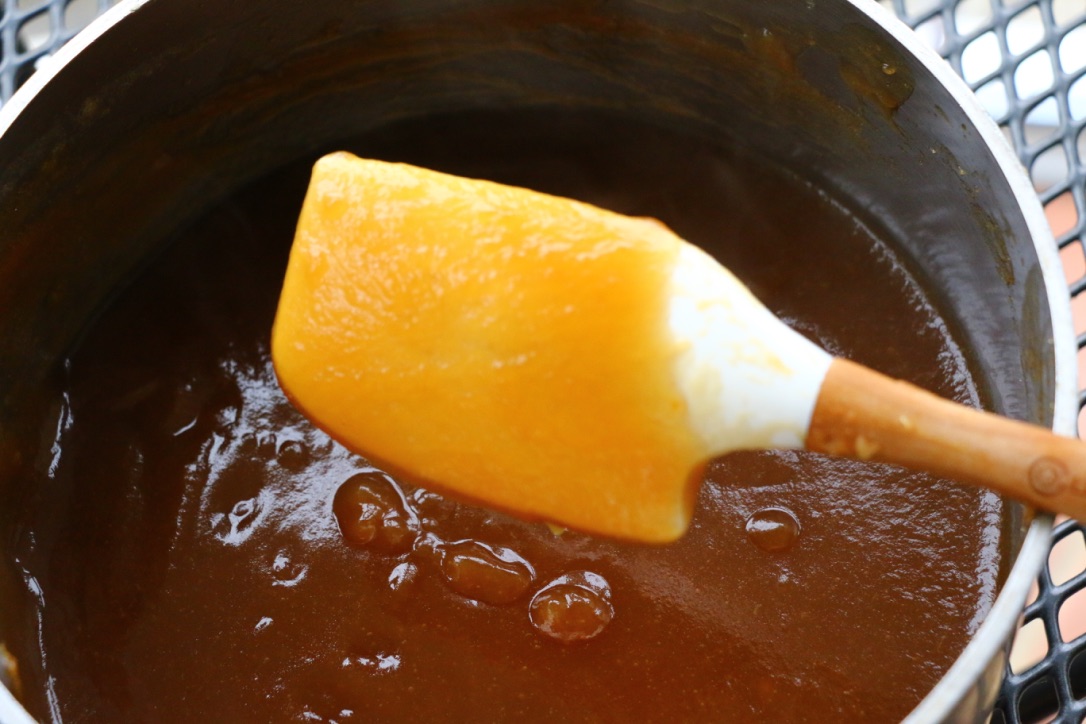
- Taste, and adjust the balance of sweet and tart by adding a little more lemon juice if needed, or a little more sugar while the apple butter is still hot enough to allow the sugar to melt. Cool completely and refrigerate; or ladle while still hot into sterilised jars and seal tightly (don’t attempt to tighten further once the jars have cooled as this will break the vacuum seal). Unopened, a properly sealed jar will last about a year at room temperature, or around one month in the fridge once opened.
**Note: Should you happen to overcook the apple butter by mistake, you can simply adapt it to that purpose and shape it in a mould or loaf pan to slice as an accompaniment to cheese.
Makes about 8-10 slices
Make the slices and decorate the cake with them as close to serving time as possible, as the moisture of the apples, and its contact with the whipped cream, will melt the caramelised sugar.
Ingredients
- 4-5 small apples, or enough to give you 8-10 centre-slices
- Juice of one lemon
- 200g (1 cup) white sugar
- 1 tablespoon water
Directions
- Cut the apples into attractive slices about ¼-inch (.6cm) thick, cutting through, or close to, the centre core. Immediately sprinkle with lemon juice on all sides to prevent browning.
- Caramelise the sugar: in a small saucepan, heat the sugar and water together over medium-low heat while the sugar slowly dissolves. Don’t stir, but gently shake the pan as necessary to help the sugar melt more evenly. When it has melted completely, start watching for a change of colour: once it reaches a pleasant amber colour (and smells caramelised), remove the pan from the heat and carefully dip the apples slices into it one at a time while the sugar is still molten, and coat each slice of apple as thoroughly as possible using a fork to manipulate the slices and being careful not to burn yourself.
- Remove each apple slice when coated, and transfer to a rack lined with baking parchment. Don’t disturb until the caramelised sugar coating has hardened and the slices can be removed from the paper without sticking.
Other apple recipes and stories on Crumbs on the Table:

 Tour D’Argent: a remembrance of things past at today’s prices
 Apricots, les abricots
 I used to cook in a piggery


 Seed cake and story

 Easter is late this year
Leave a Reply